Family Reunion Crafts: DIY Rag Garland
This DIY garland can be used as personalized décor or a take-home gift that will make your reunion extra special.
Sep 01, 2022
A family reunion is an opportunity to gather with loved ones to celebrate being together and to create those small, in-person moments we hold so dear, and we will remember for years to come.
Whether your family reunion includes relatives from near and far or friends who are like family, engaging in a fun activity together can make for some happy memories. This DIY rag garland can be used as personalized décor or a take-home gift that will make the day extra special.
DIY rag garland
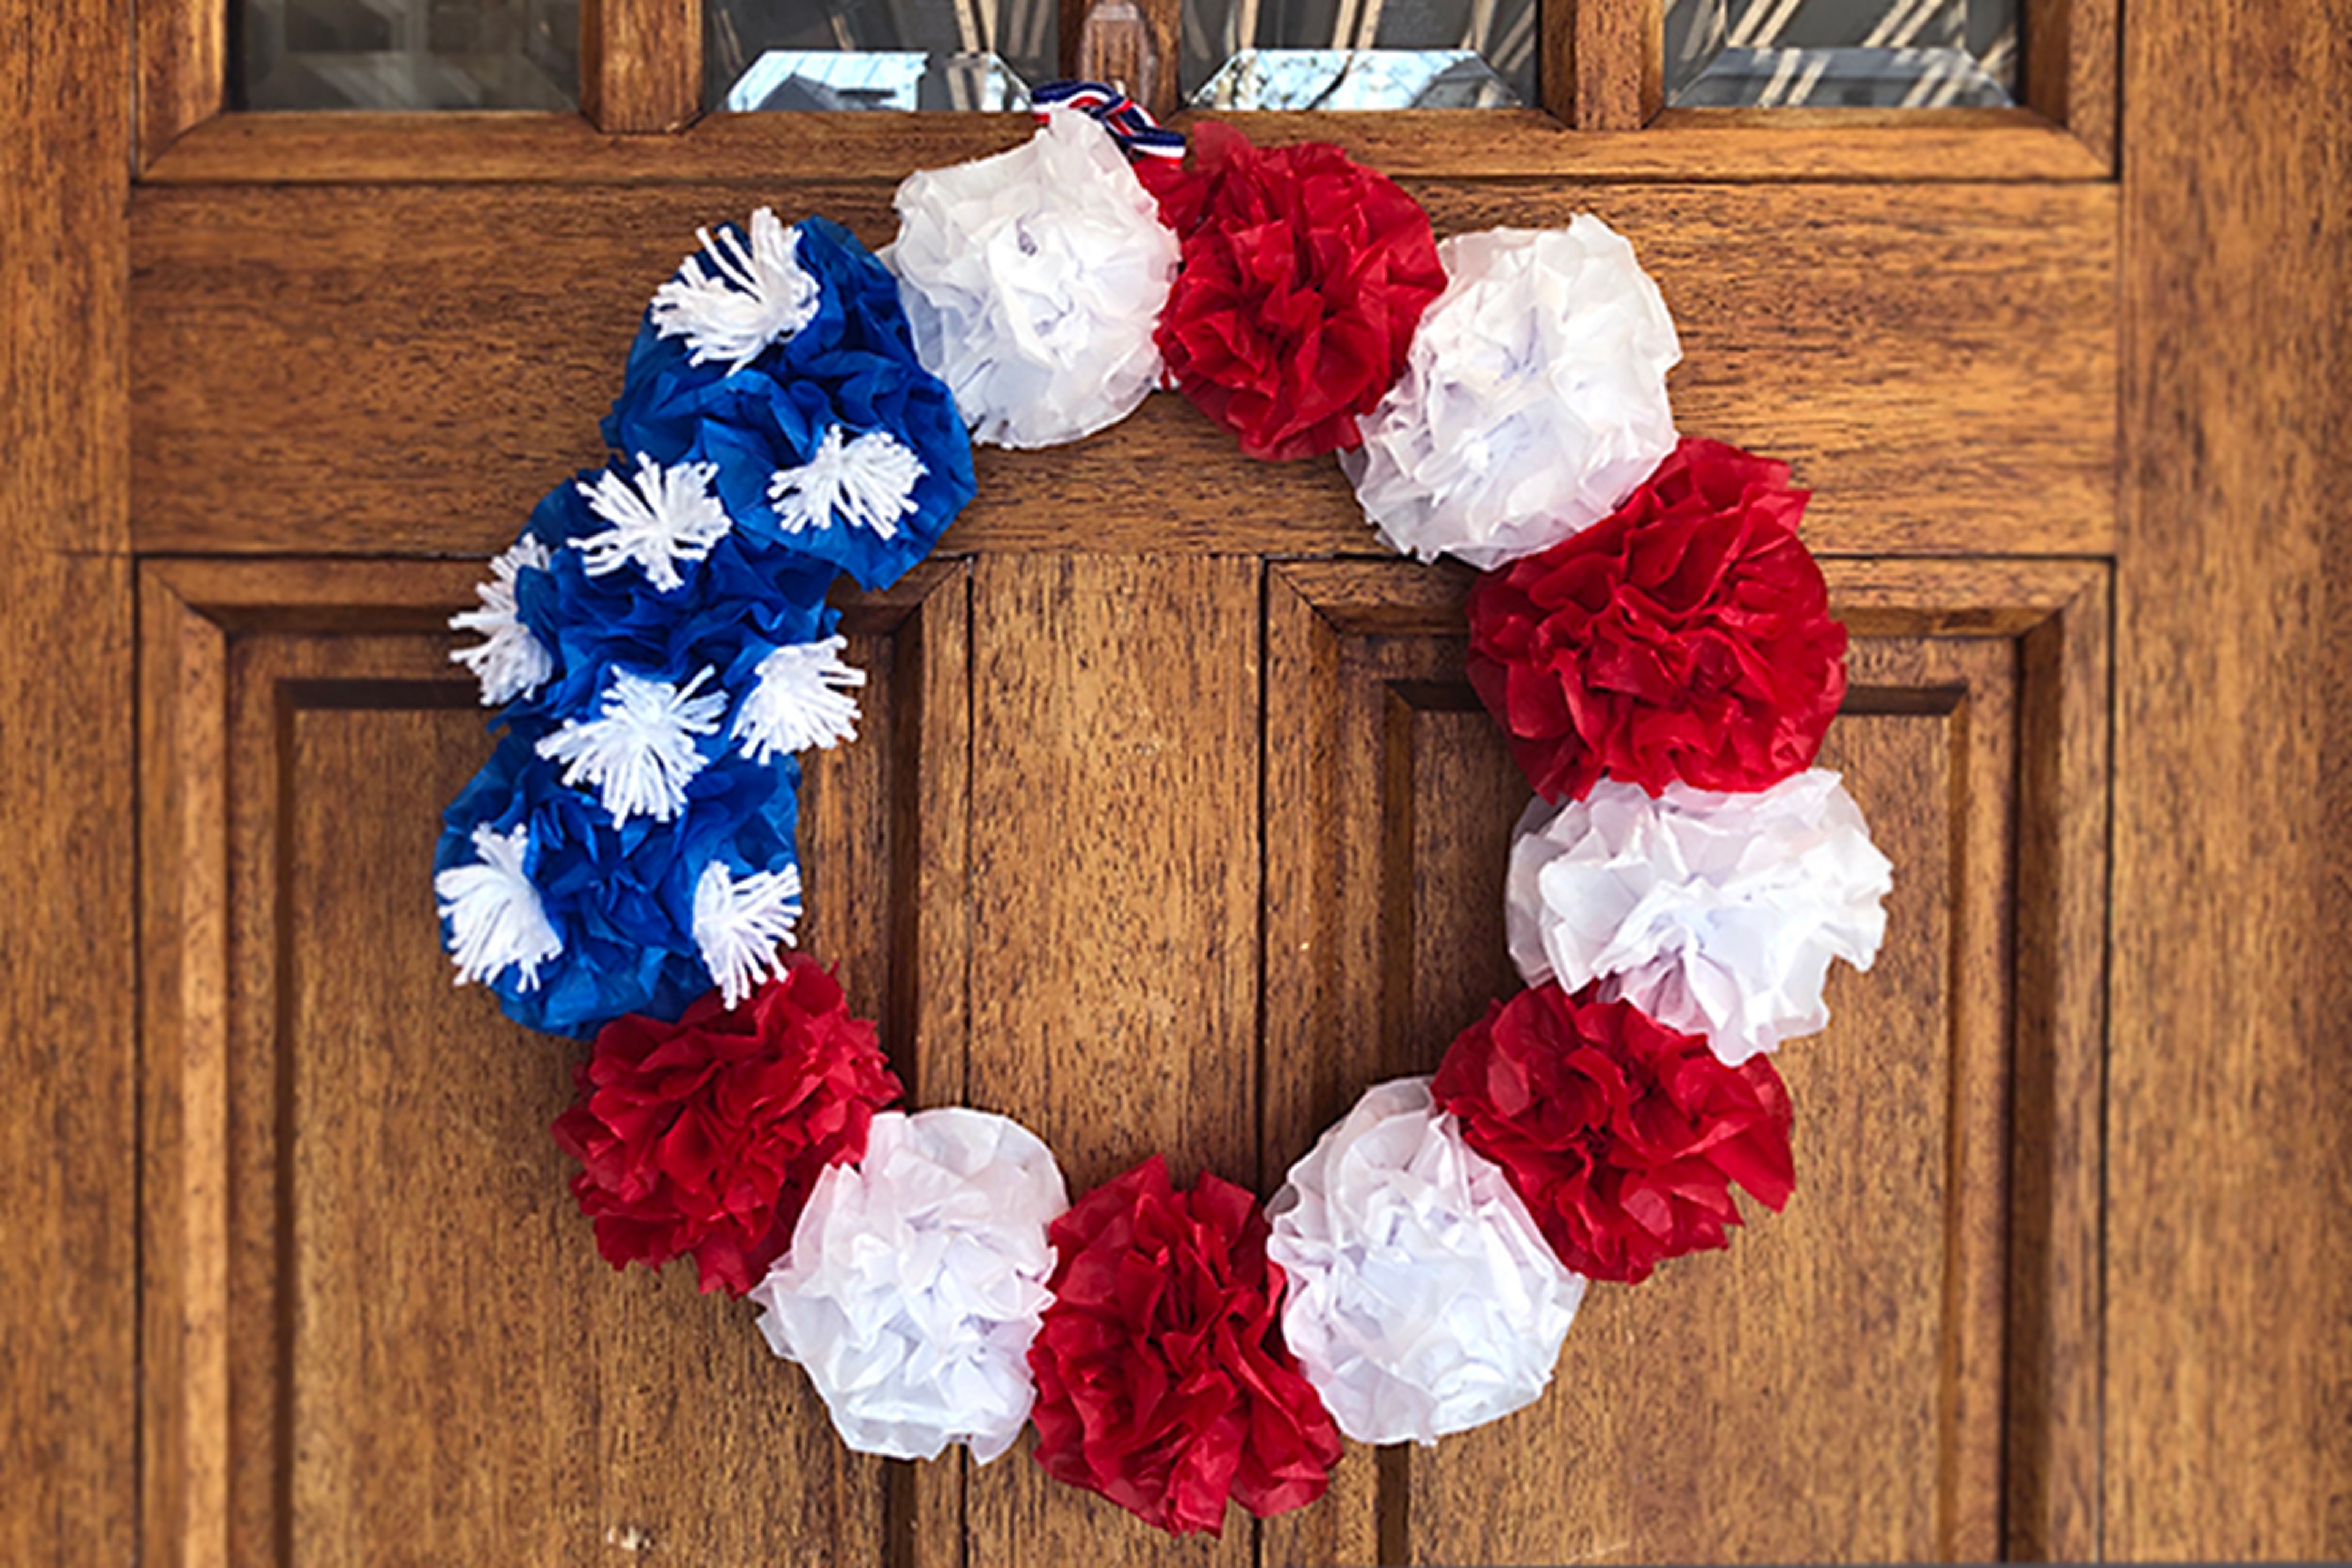
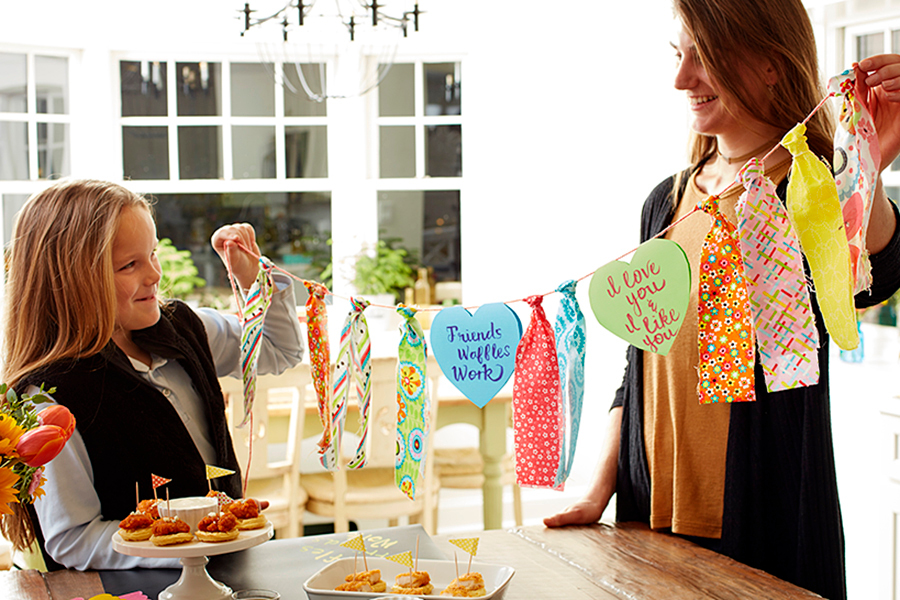
Garlands are an easy and inexpensive way to add a festive atmosphere to your celebration. They can also be customized to fit any theme, which makes them great for holidays, baby showers, and birthday parties. For a summertime family reunion, I went with an Americana theme, using red, white, and blue bandanas, and plain white cotton fabric. For your project, feel free to use any colors you and your family enjoy.
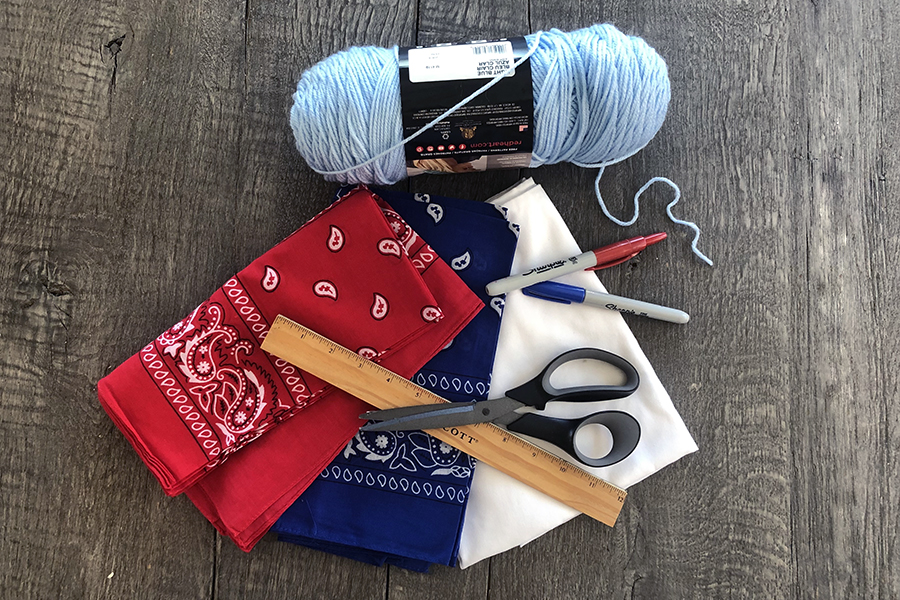
What you'll need
- Fabric
- Yarn, ribbon, or twine
- Scissors
- Permanent marker with an ultra-fine point (for personalization)
How to make the garland
Start by deciding the length and size you want for your garland, and cut your yarn or twine accordingly. Remember to leave enough yarn at either end for hanging.
Cutting the fabric strips
Since you're using bandanas, you need to cut them into strips. Each bandana is a 20-inch square, and each strip is 3 inches wide by 20 inches long, so you will have eight strips that are 2.5 inches by 20 inches.
To make it a easier to cut strips that are the same size, start by folding the bandana in half. Then, fold it in half again, and then in half one more time. Next, run a hot iron over the folded bandana.
You now have cutting guides! Don't worry about being exact. That's the beauty of a rag garland — anything goes! Remember to cut all your strips before assembling the garland.
How to attach fabric strips to yarn
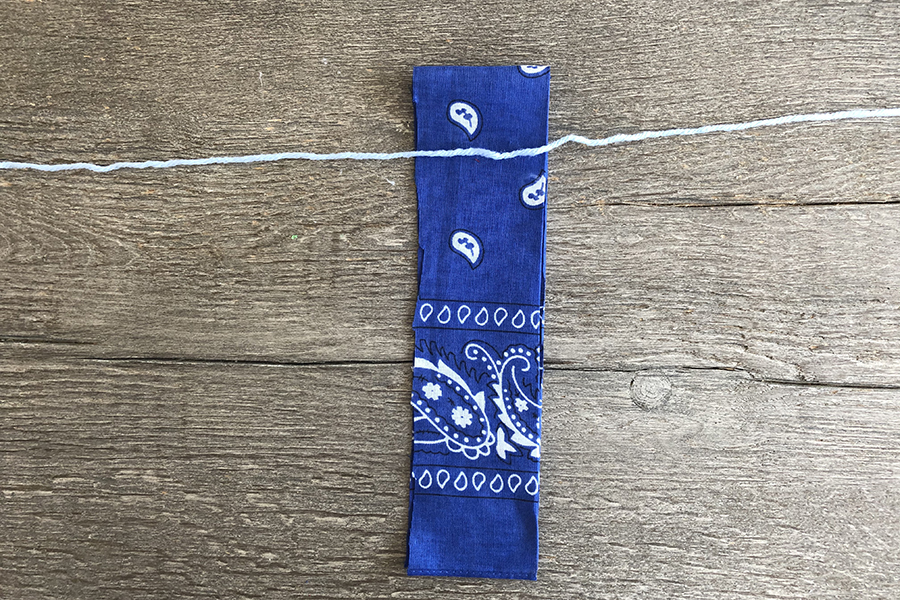
To attach the fabric strips to yarn, fold the fabric strip in half and place it under the yarn.
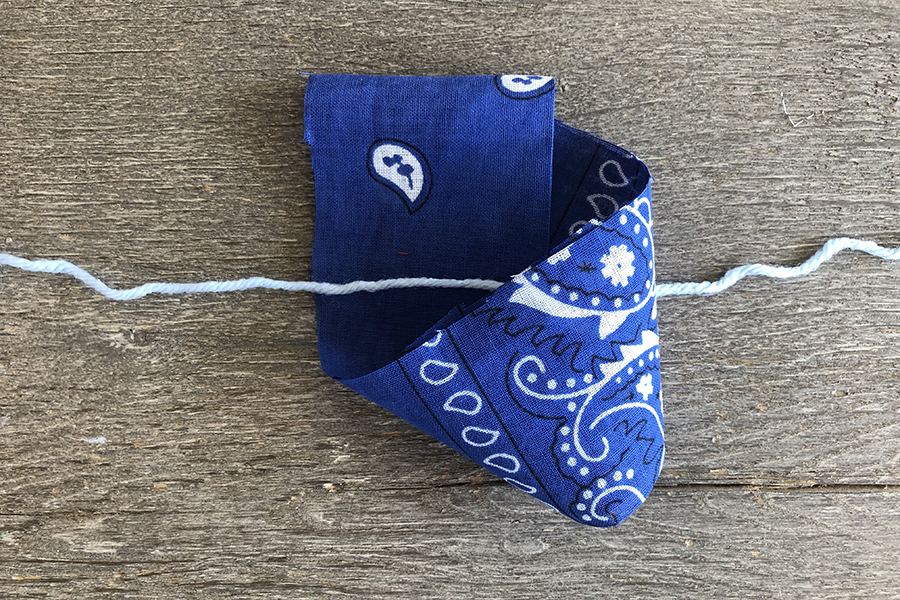
Then, take the bottom of the fabric and bring it over the yarn and through the fold at the top of the strip.
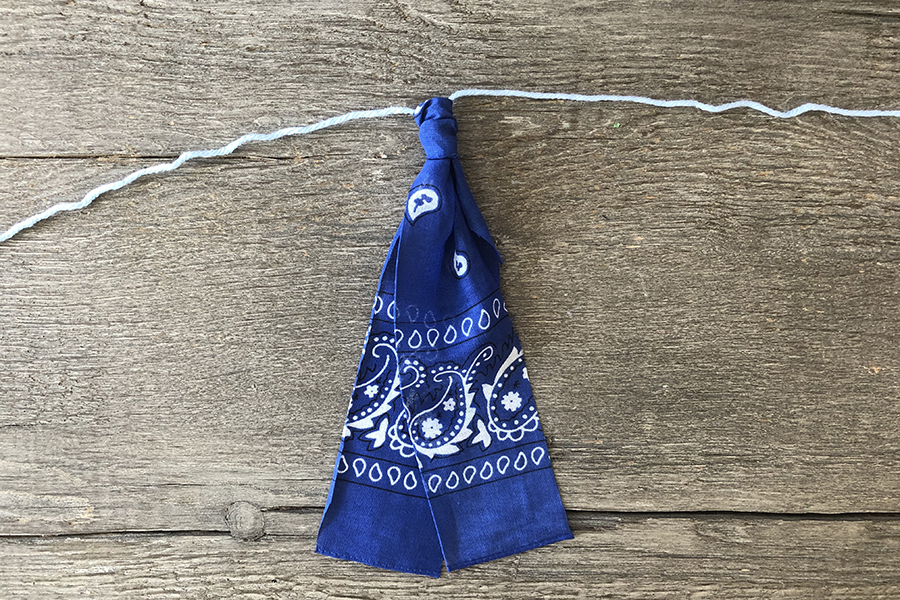
Next, pull the strip through to form a top knot.
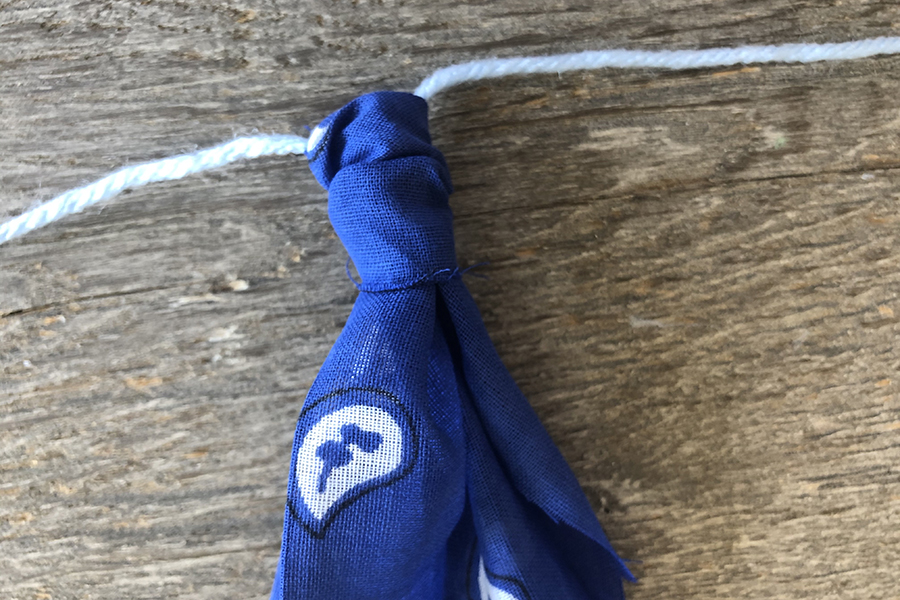
Tying the fabric on in this way keeps it more controlled and neater.
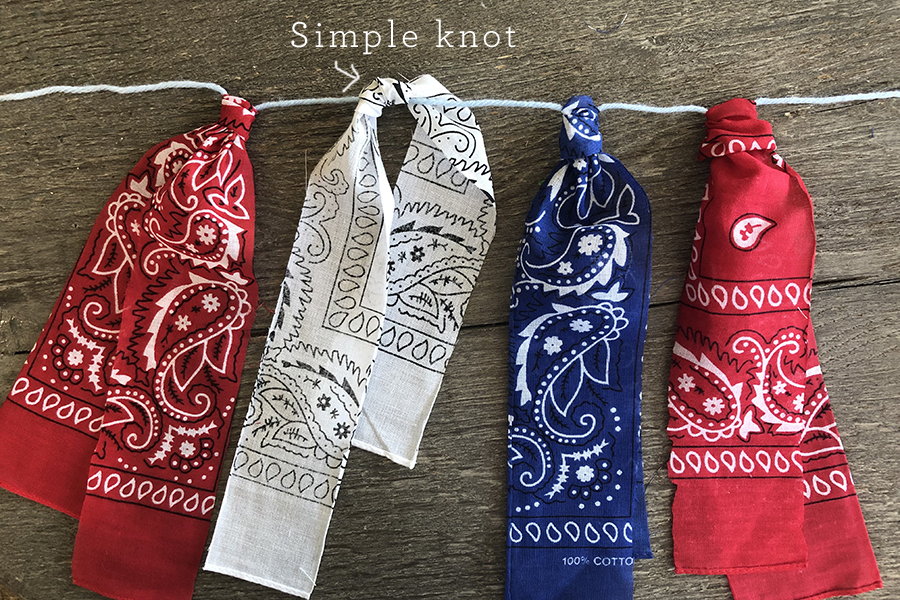
You can see the difference above. It all depends on the look you want as well as how much time you have to spend putting the garland together. The simple knot goes much faster.
Make it special with personalization
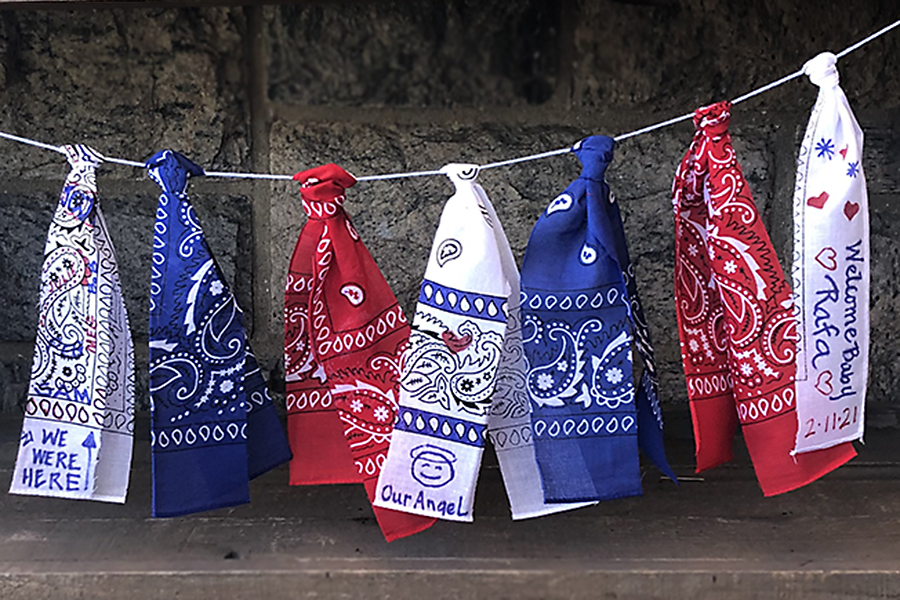
Your family is one of a kind, so why not make your garland just as unique by personalizing some of the fabric strips?
If you'd like to move things along quicker, make the garland before the reunion using only red and blue bandanas, leaving space to add the white ones during the event.
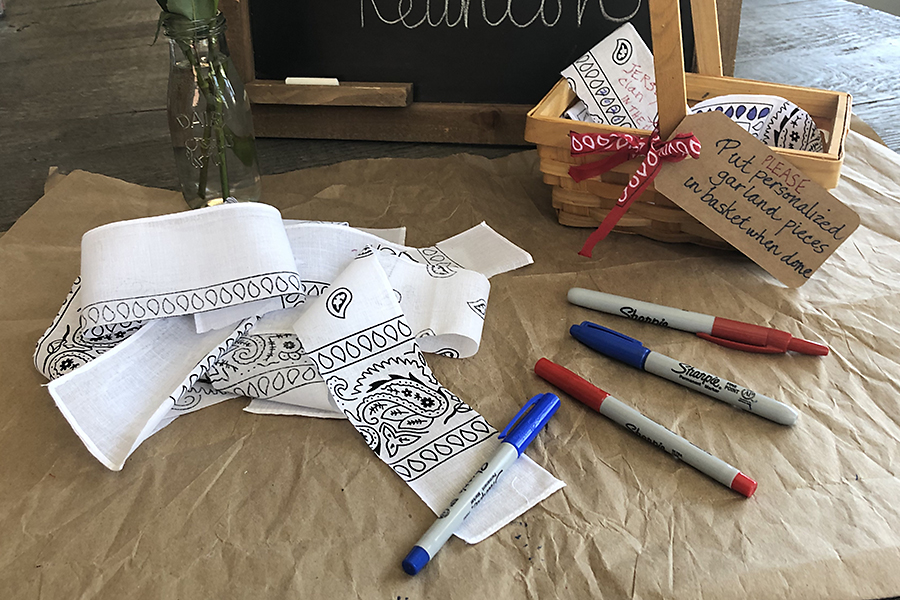
At the reunion, set up a table with permanent markers (ultra-fine tip are best) for coordinating colors and the white bandana strips. You can also include plain white cotton strips made from an old pillowcase, if you have a lot to say and need more writing space.
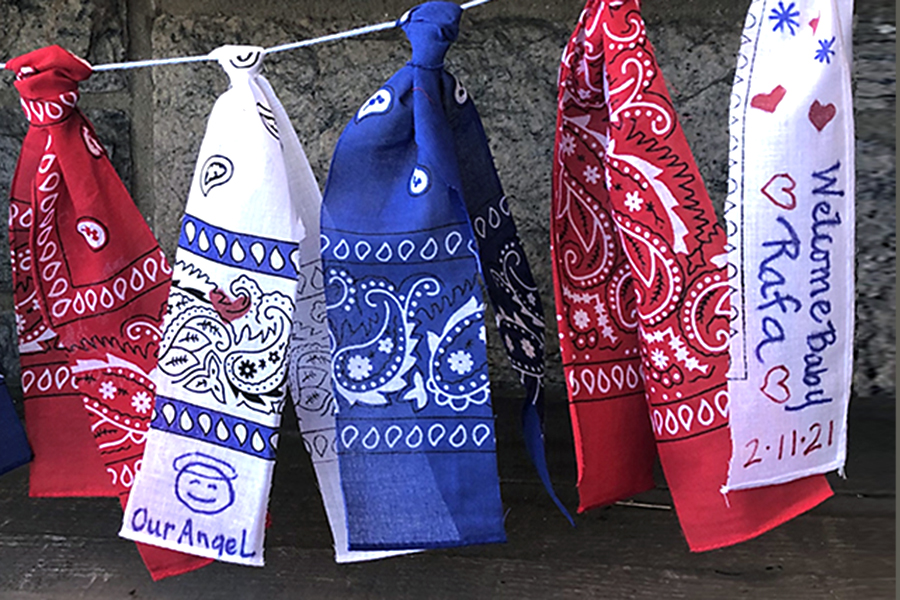
Encourage attendees to personalize a strip with names and dates, a quote, a word — whatever they feel represents them and their family. To help, assign a family member to attach the personalized strips to the existing bandana garland throughout the day.
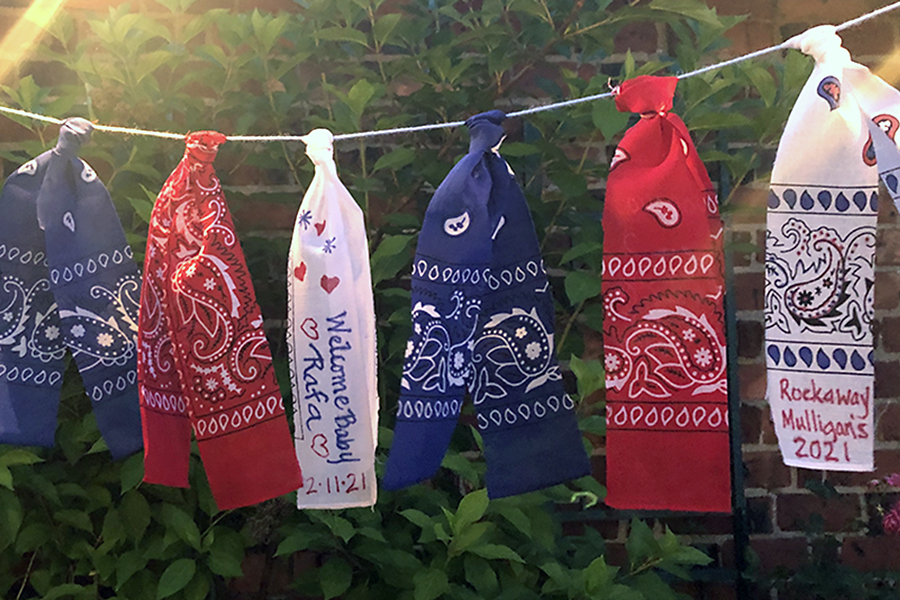
Want to make it extra special? Save the garland for your next family reunion and continue to add new strips to it as the family grows and changes through the years. That way, it's sure to become a cherished part of future family celebrations.


