How to Make a DIY Kentucky Derby Hat with Flowers
Learn how to make a stylish DIY Kentucky Derby hat for this year's Run for the Roses.
Apr 25, 2016
If deep inside you there is a Southern belle just waiting to shine, then the Kentucky Derby is your chance to set her free with a standout statement hat. Even if you can’t make it to Churchill Downs, there are Kentucky Derby parties happening all across the country. If you don’t already have plans, then having the opportunity to strut your stuff like a lady is as good a reason as any to throw your own Derby party.
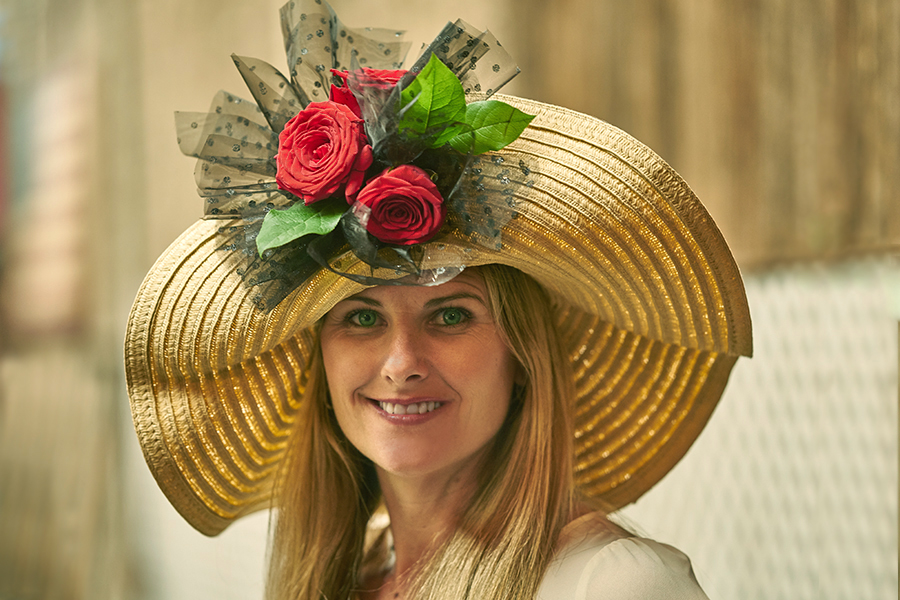
You can have lots of fun creating your own unique DIY Kentucky Derby hat with a little creativity and very little money. In doing a little research, I learned that a wide brim is key. Not only will it keep the sun off your pretty face, but it adds drama. Adorning your hat with flowers, feathers, lace, or ribbon completes the look and is said to bring luck to gamblers at the race. As this headpiece is for the Kentucky Derby — also known as the Run for the Roses — I chose red roses as the centerpiece for my adornment, with a little black tulle, and finished it off with a daisy crown around the brim. After all, a girl wants to look good both coming and going!
DIY Kentucky Derby hat
Making a Kentucky Derby hat requires three main steps: constructing and attaching the black tulle pouf, adding the flowers, and making a daisy rim. Follow us as we walk you through these steps.
1. Attach the black tulle pouf
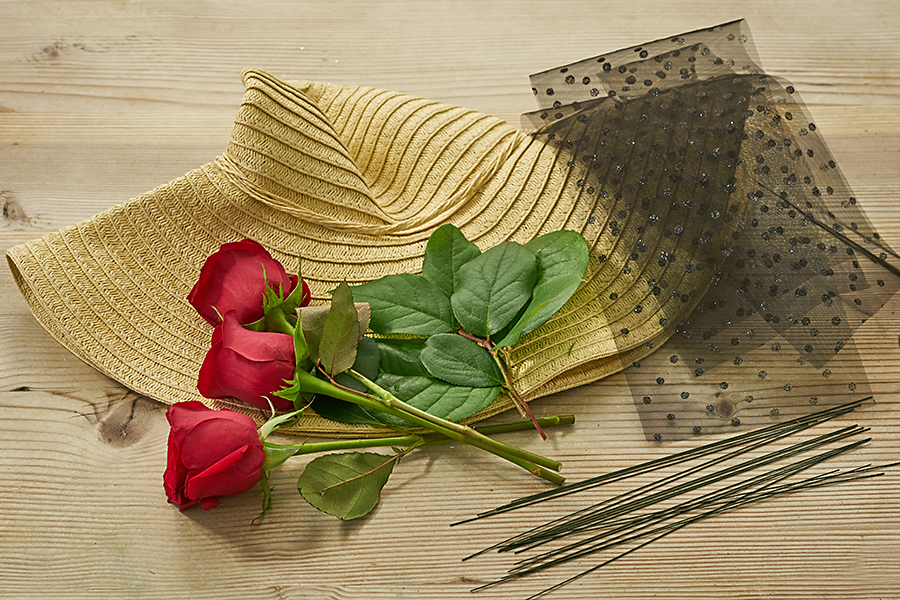
I found the perfect wide brim hat at a local Goodwill store for just $8!
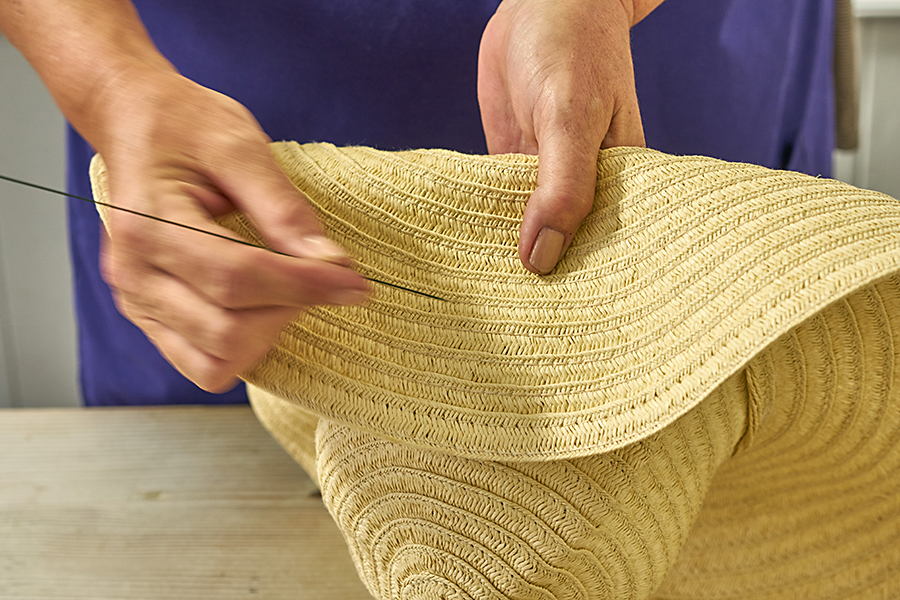
I started by lifting one section of the brim and attaching it to the top of the hat using a piece of wire.
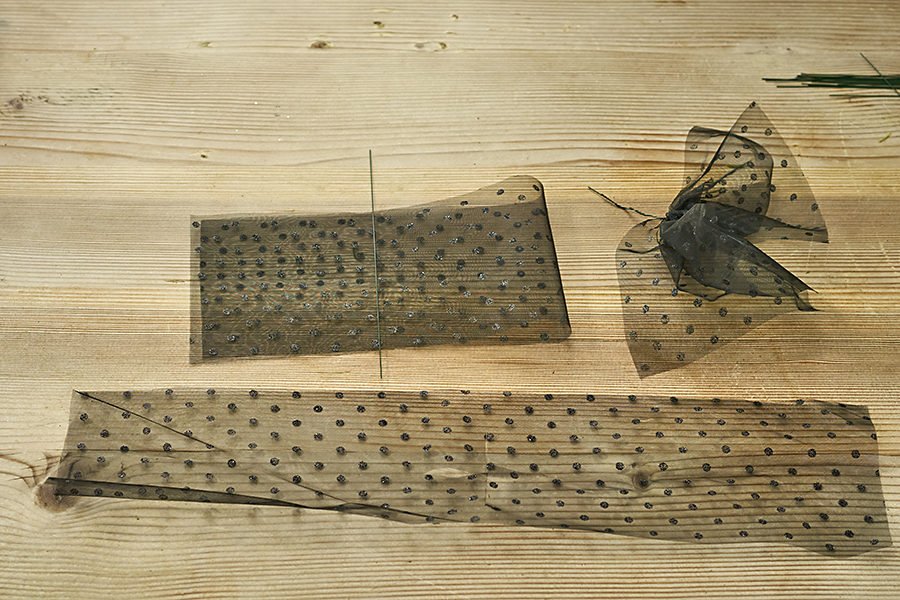
I had the perfect piece of “scrap” tulle left over from a previous project that I cut into five strips approximately 20 inches long each.
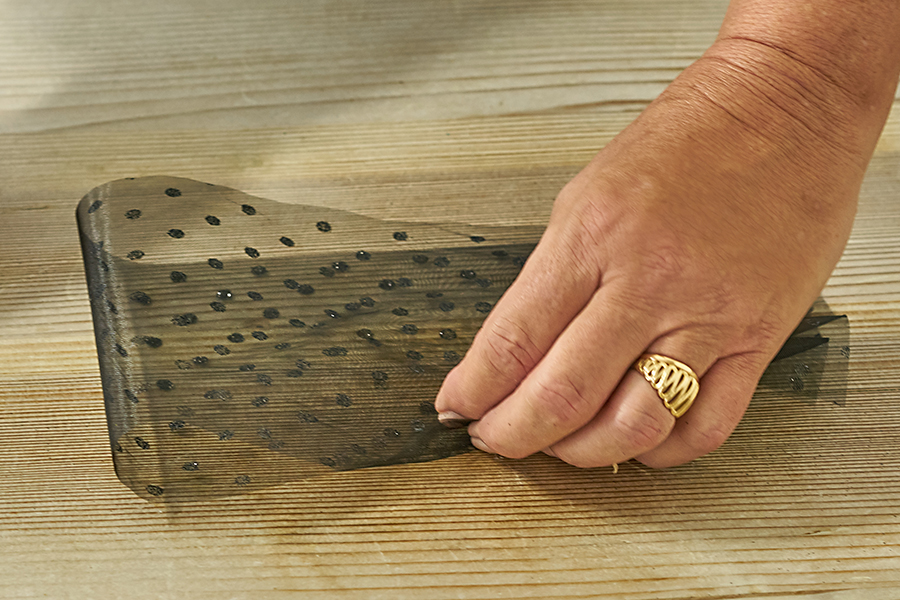
I folded each strip in half...
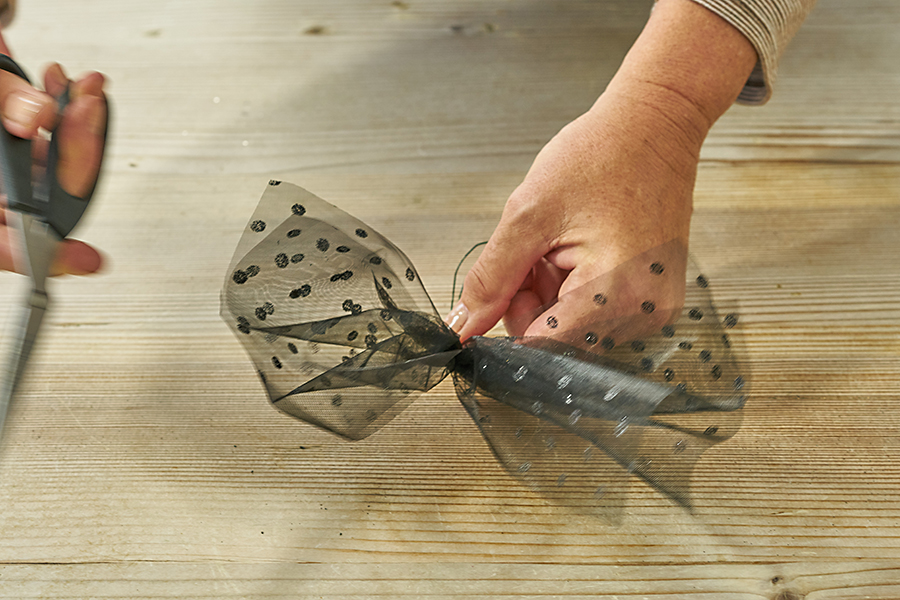
...and twisted a wire around the middle to create a pouf.
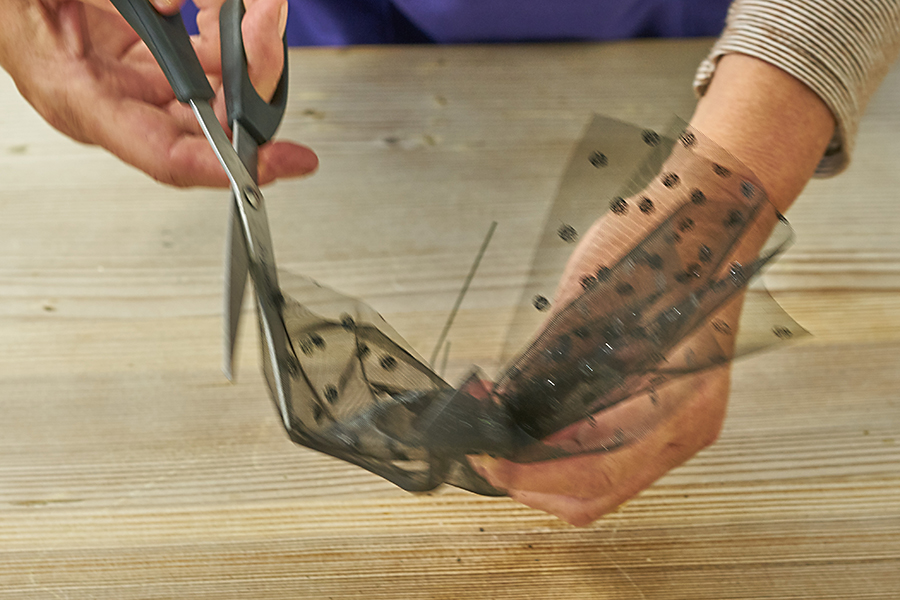
Then I cut the side of the tulle that was folded.
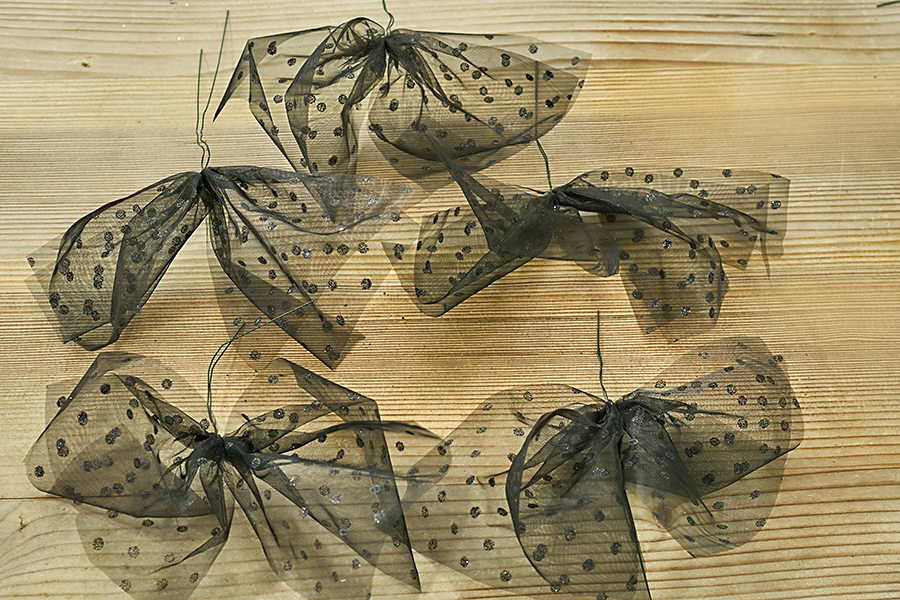
Before gathering all the poufs of tulle together to make the decoration base that will hold the fresh roses...
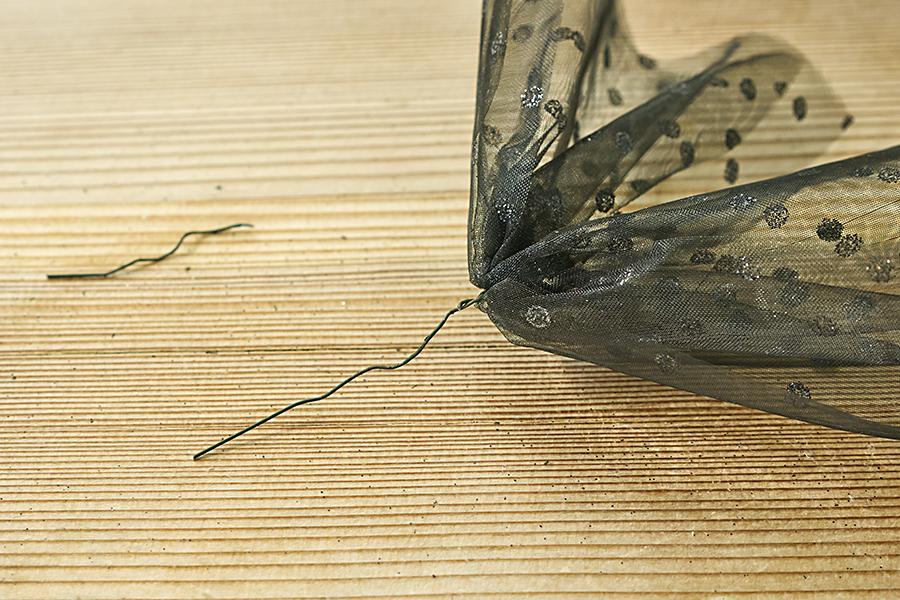
...I cut one piece of the wire, leaving a single length to work with.
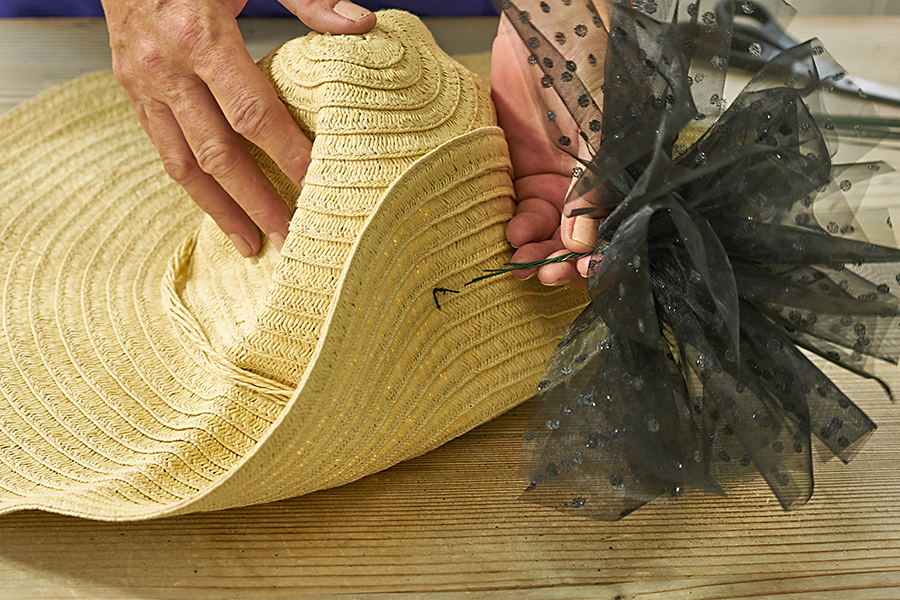
This helps keep the decoration lighter in weight and makes it easier to attach to the hat.
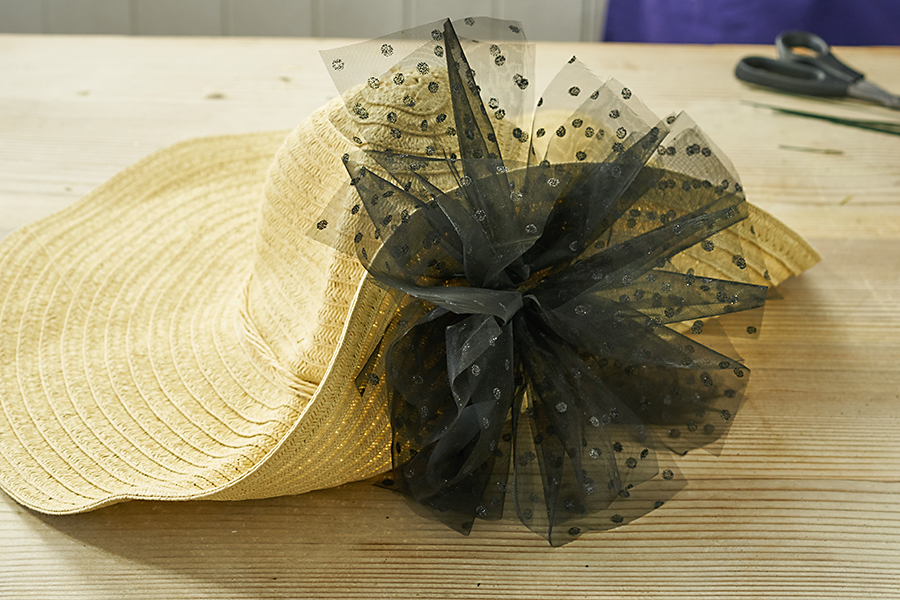
2. Add fresh flowers
Now it’s time to add the beautiful red roses. The easiest way to add the roses is with hot glue.
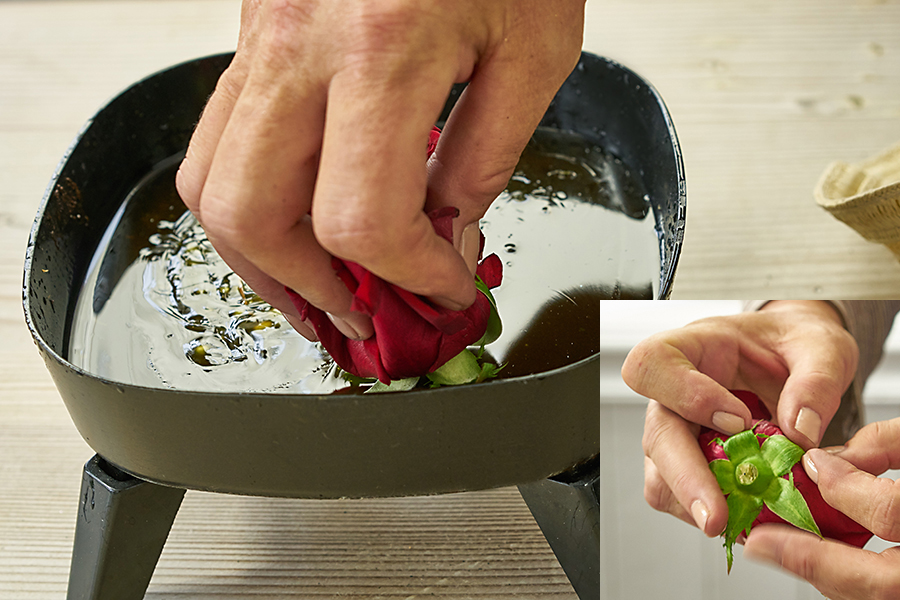
Cut the stem of the rose very short and dip the base into a hot glue pan. Or, if you prefer using a glue gun, just dab the glue onto the bottom of the base.

Immediately place the rose in the center of your tulle pouf.
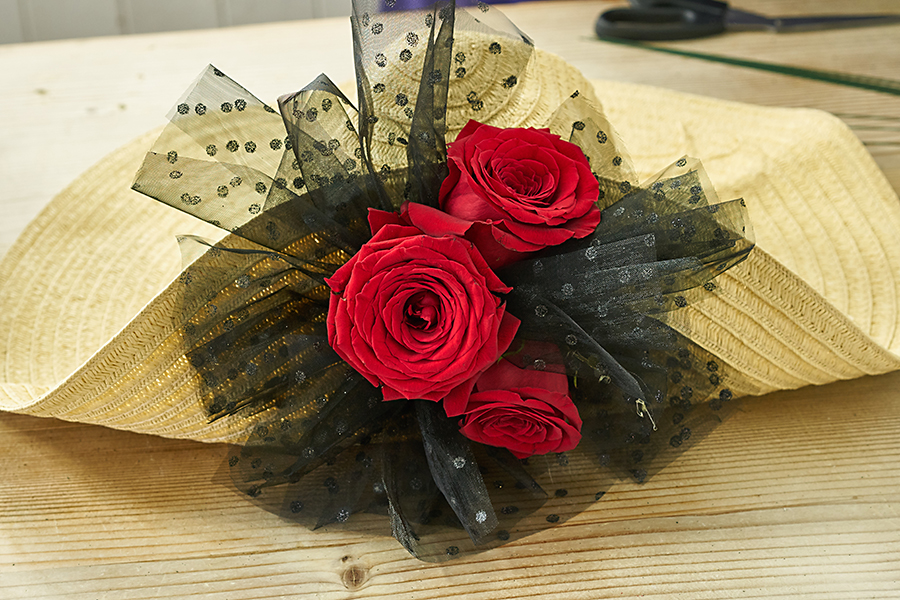
I added two more roses and completed the look with a few stems of salal leaves.
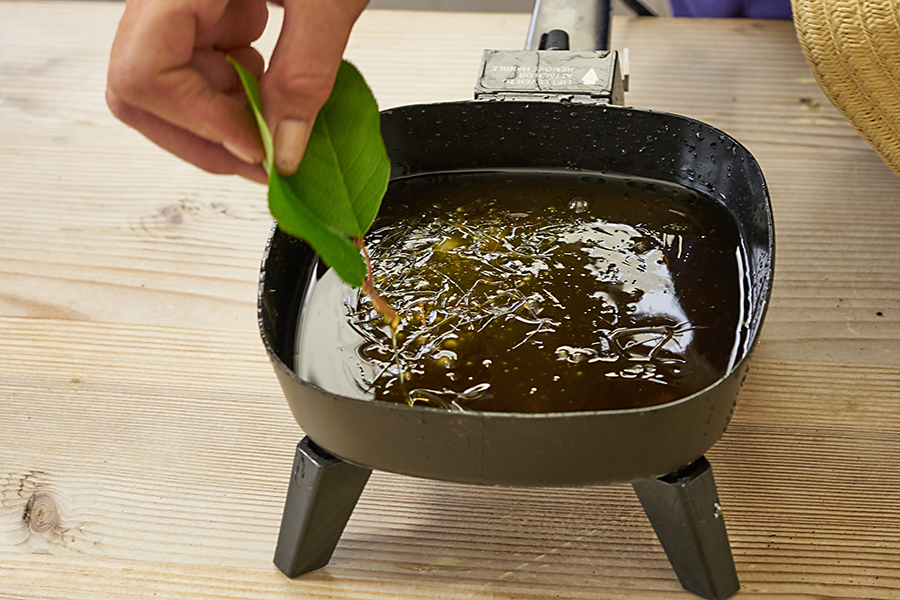
Add the foliage the same way, by dipping the end of the stem into the hot glue and adding to the tulle base.
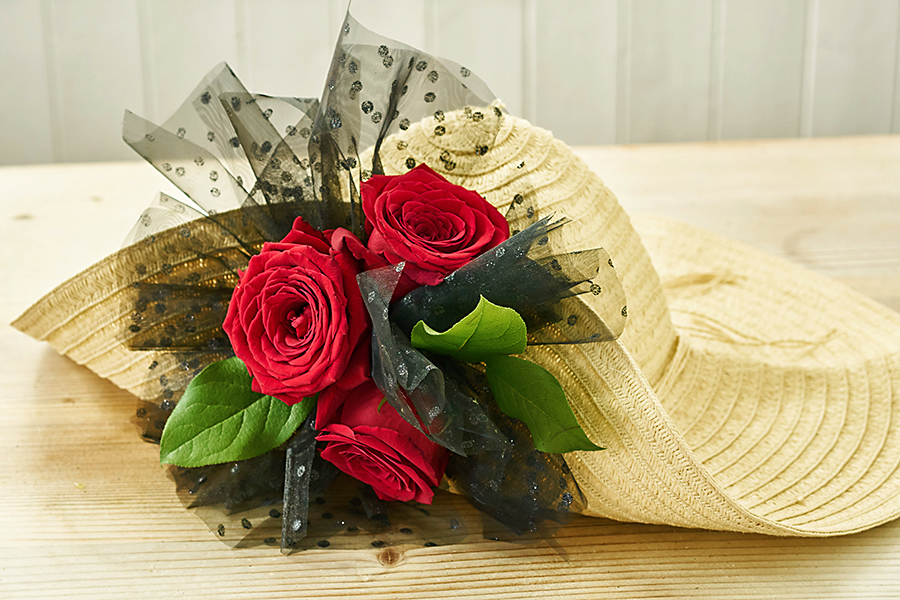
And that’s it! Remember, you’ll be wearing this hat, so you’ll want to keep your decorations as light as possible so that you’re comfortable in your beautiful new chapeau.
If you find that you have a few strands of “glue strings," you can easily remove them by quickly going over the area with a hairdryer set on the lowest setting.
3. Make a daisy rim
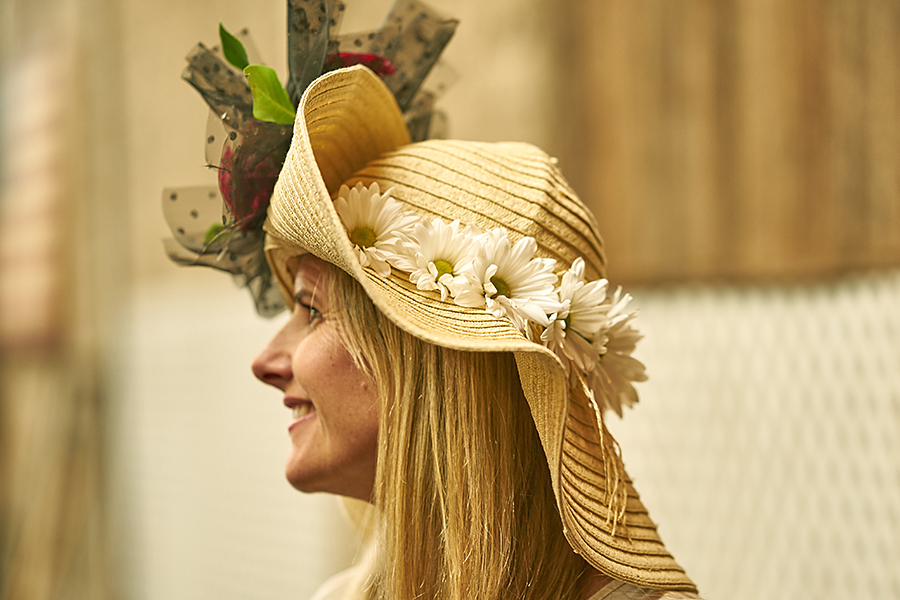
Adding the daisies around the brim of the hat is just as easy.
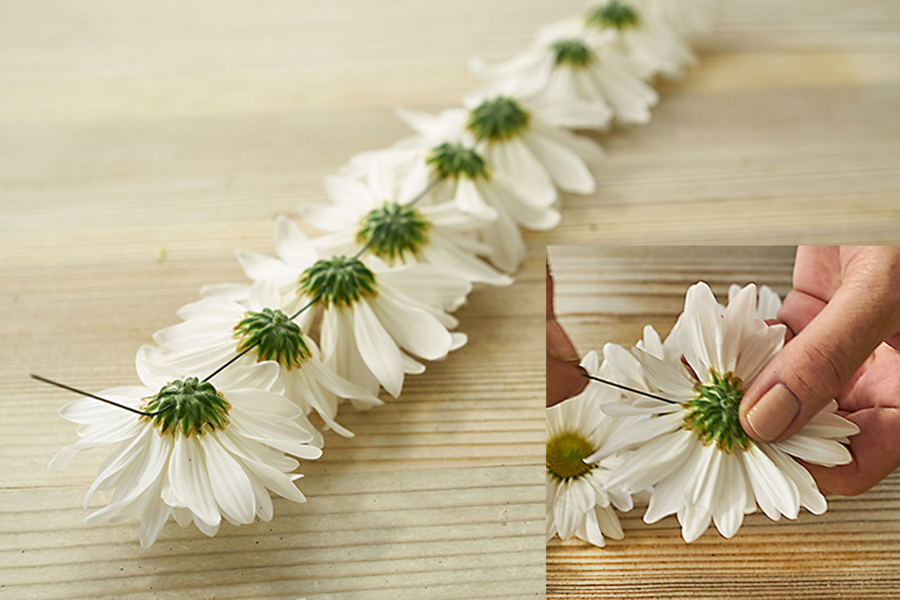
Cut the stems from your daisies. Using a piece of wire that’s 4 inches longer than the length you’ll need to cover the crown of the hat, insert one end of the wire through the base (also know as the receptacle) of the daisy. Slide each daisy to the end of the wire and continue adding as many daisies as needed for your hat.
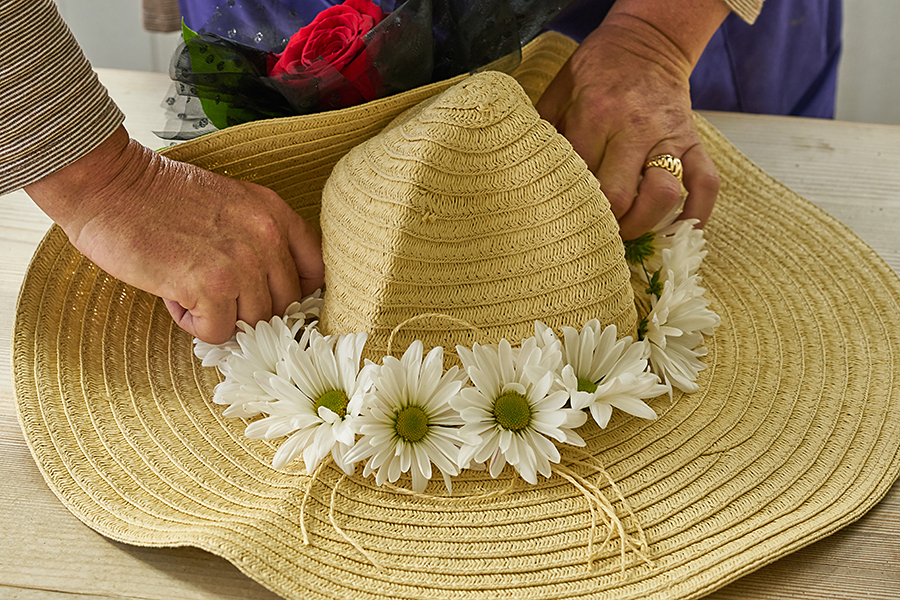
Attach to the hat using the ends of the wire.
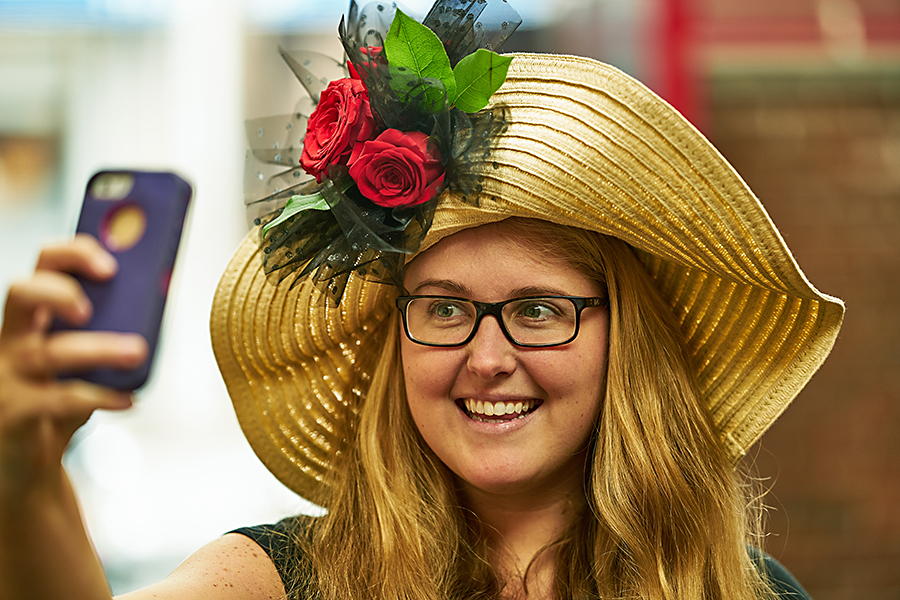
You are now selfie ready. It's time to party!


