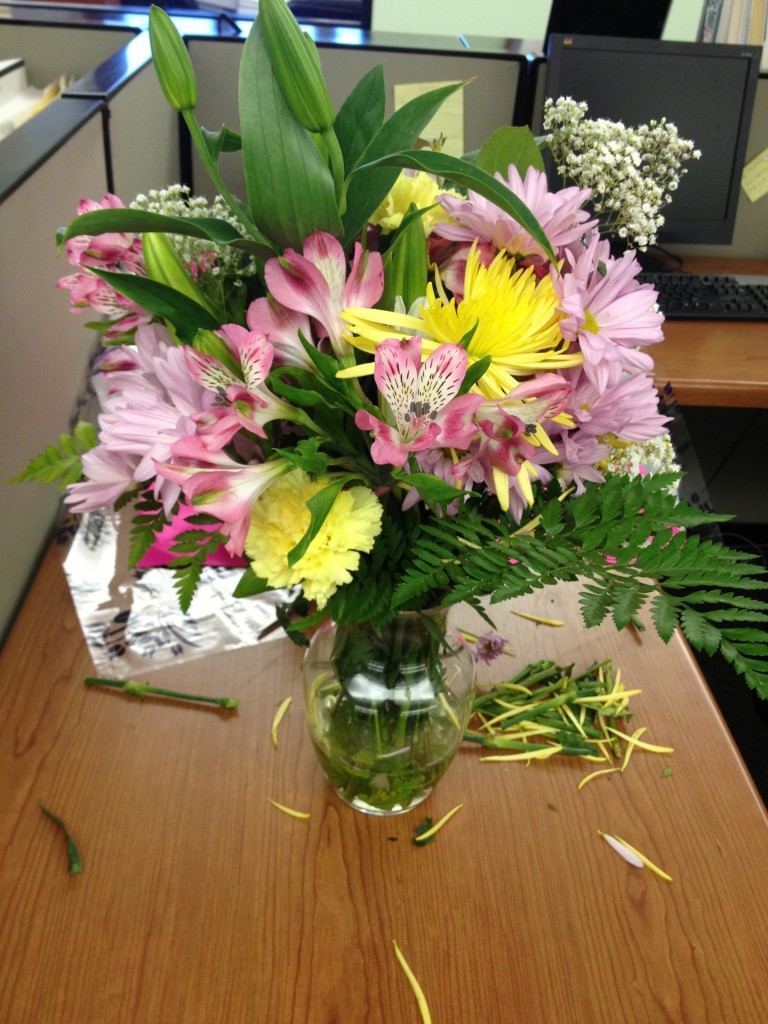
How To Arrange Flowers With A Gridded Vase
Jul 13, 2012
Interested in learning how to arrange flowers like a professional florist? Well you're in luck! With our gridded vase trick, you can make your own arrangement with these simple and easy-to-follow steps. Creating an arrangement like a professional florist can be done simply by using an aid, such as a gridding tool. By using ¼” stretchable clear waterproof tape (obtained at any craft or florists’ supplier) you can create an attractive arrangement.

1. The first step is to stretch tape across the mouth of the vase, one to the left of center, one to the right of center. Add two more strips crossing the existing strips to make a sort of tic-tac-toe board. You now have a square in the middle. When placing strips, adhere the first side; before securing the other side, pull tape so it is taut. How many strips you will use depends on the size of the vase opening as well as the thickness of the stems.
2. When the grid is finished, you will have tape going north and south – east and west. At this point, tape around the top of the vase, stretching as you go, to prevent the grid from falling into the vase.

3. Add water and start creating.
4. The height is up to you; it can be anywhere from ½ the height of the vase to twice its height; depending on your personal taste. If you start tall, you can always come down, not the reverse. Insert one flower in the center of the grid. Place a grouping of 4 or 5 flowers around the center, but lower. The next grouping should be lower than the first, and at an angle.
5. Then the greens go around the outside. Finish by adding water if desired.

You did it!


