
How to Preserve Flowers with Wax
Make the beauty of a special bouquet last with this step-by-step guide.
Aug 09, 2020
You can make your beautiful fresh-cut roses last longer than you ever imagined by dipping the open blooms in melted wax. The best time to preserve flowers with wax is at the very end of their shelf life — after you have enjoyed their beauty for over a week — when the rose is in full bloom.
I have waxed roses many times over the years using paraffin wax. Now that soy wax is readily available, I decided to give that I try...and I’m glad I did! Soy wax is a completely natural and renewable resource, has a lower melting point, and cleans up easily, with just soap and water. And soy wax is so versatile that you can melt it in the microwave!
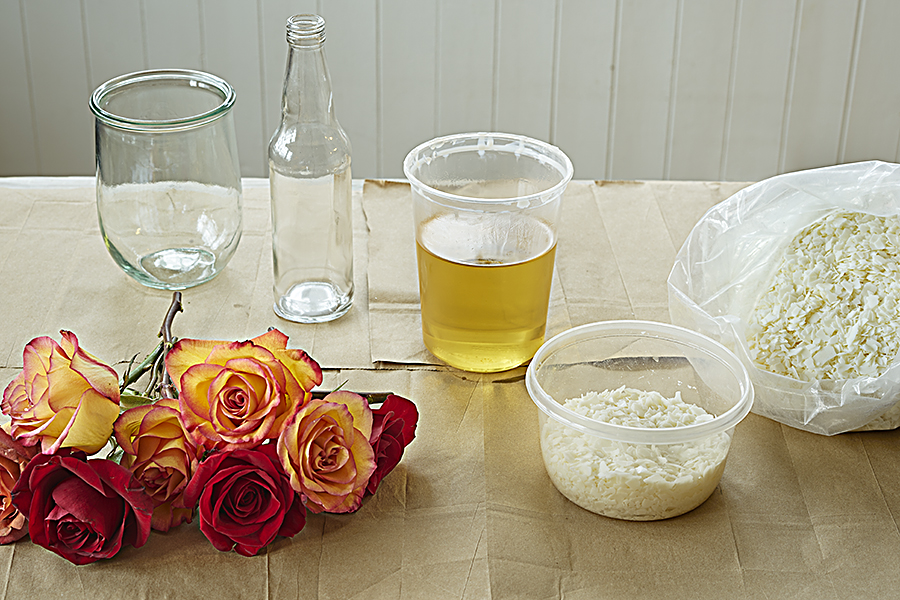
What you need to preserve flowers with wax:
- Open roses
- Microwave-safe container
- Soy wax flakes
- Candy thermometer (optional)
- Empty bottles or vases or wax paper
Steps:
- Cut the stems of your roses to about 8 to 10 inches long to make it easy to dip the heads into the wax. Then, place the stems into your bottle or vase to cool. Be sure to put scrap paper on your work surface, including under the bottles, to catch dripping wax.
- Fill the microwavable container all the way to the top with the wax flakes and microwave for 2 minutes. After 2 minutes, take the container out of the microwave and stir the melted wax with a disposable plastic spoon. If there is still any white/un-melted wax, return the container to the microwave for another minute and repeat. Also: As the wax melts, you might find that you need to add more flakes. Go ahead and stir them into the container, and continue the melting process.
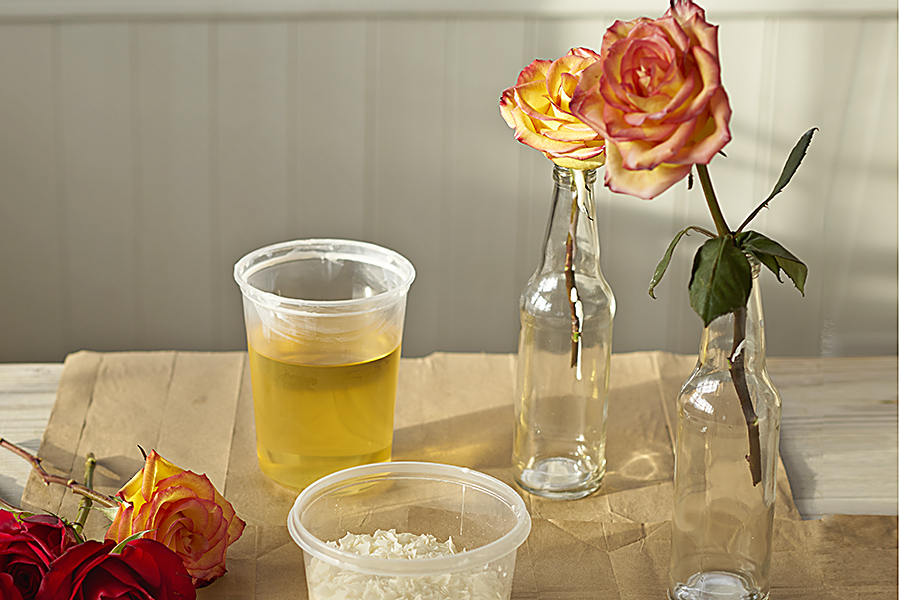
- Once all the wax is melted, you can start dipping. Place the wax container on a protected surface and have your bottle or vase ready to place the dipped roses in for cooling. You can also place the dipped roses on wax paper to cool, but they will keep their shape better if they cool while upright.
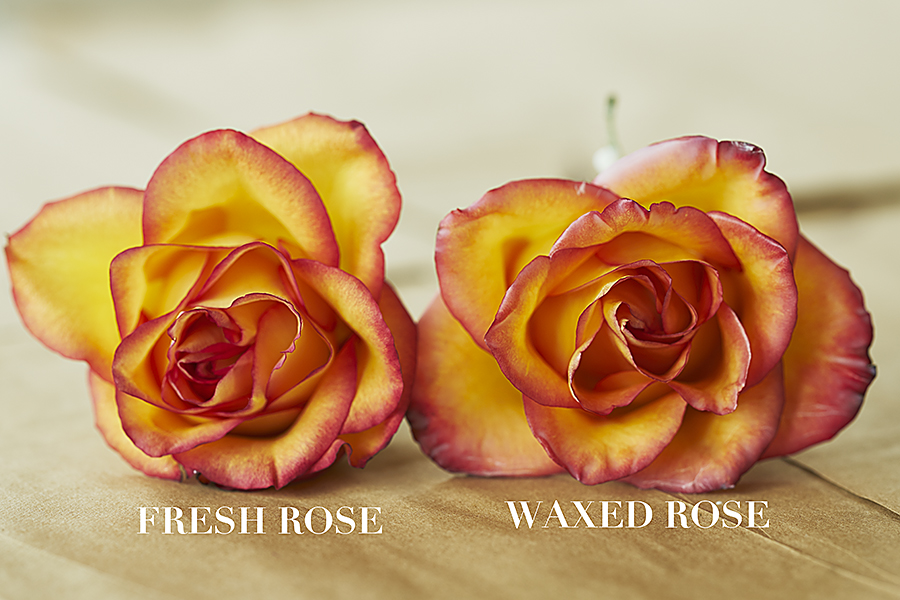
Note: Your wax should be at about 100° F. (You can measure the temperature with a candy thermometer.) I found that melting the wax in short increments of time will keep it from getting too hot. I waited a minute or two after removing my wax from the microwave to start dipping. You can tell that your wax is getting too cool if it starts to get cloudy looking and appears cloudy on the rose petals as well. The goal is to make your rose look so lifelike that it's impossible to tell that it has been dipped in wax!
If you have many flowers to wax, you can continue to melt as you go along, using the same container and adding more wax flakes as needed. When you’re done, cover the wax container so you can use again at another time. You can preserve many different varieties of flowers and foliage with this method!
2 ideas for enjoying your waxed roses

After the wax has completely cooled, cut the stem off so that you can cradle the rose in this sweet bird’s nest dish.

I love this arrangement! I simply alternated waxed roses and baby succulents to create a modern centerpiece as carefree as it is beautiful.
AUTHOR

Julie started her career in the floral industry over 30 years ago in a small, family-owned flower shop. From floral designer to author and lifestyle expert, her insight has been instrumental in developing the 1-800-Flowers.com brand. Representing the company’s floral lifestyle vision, Julie has shared her talent and passion in numerous television appearances and national magazine features. She is an active fundraiser and longtime friend of IGHL, a group dedicated to facilitating a more independent life for developmentally challenged adults.


