Fresh Flower Fashion: Techniques Used To Make Flower Jewelry
Aug 08, 2016
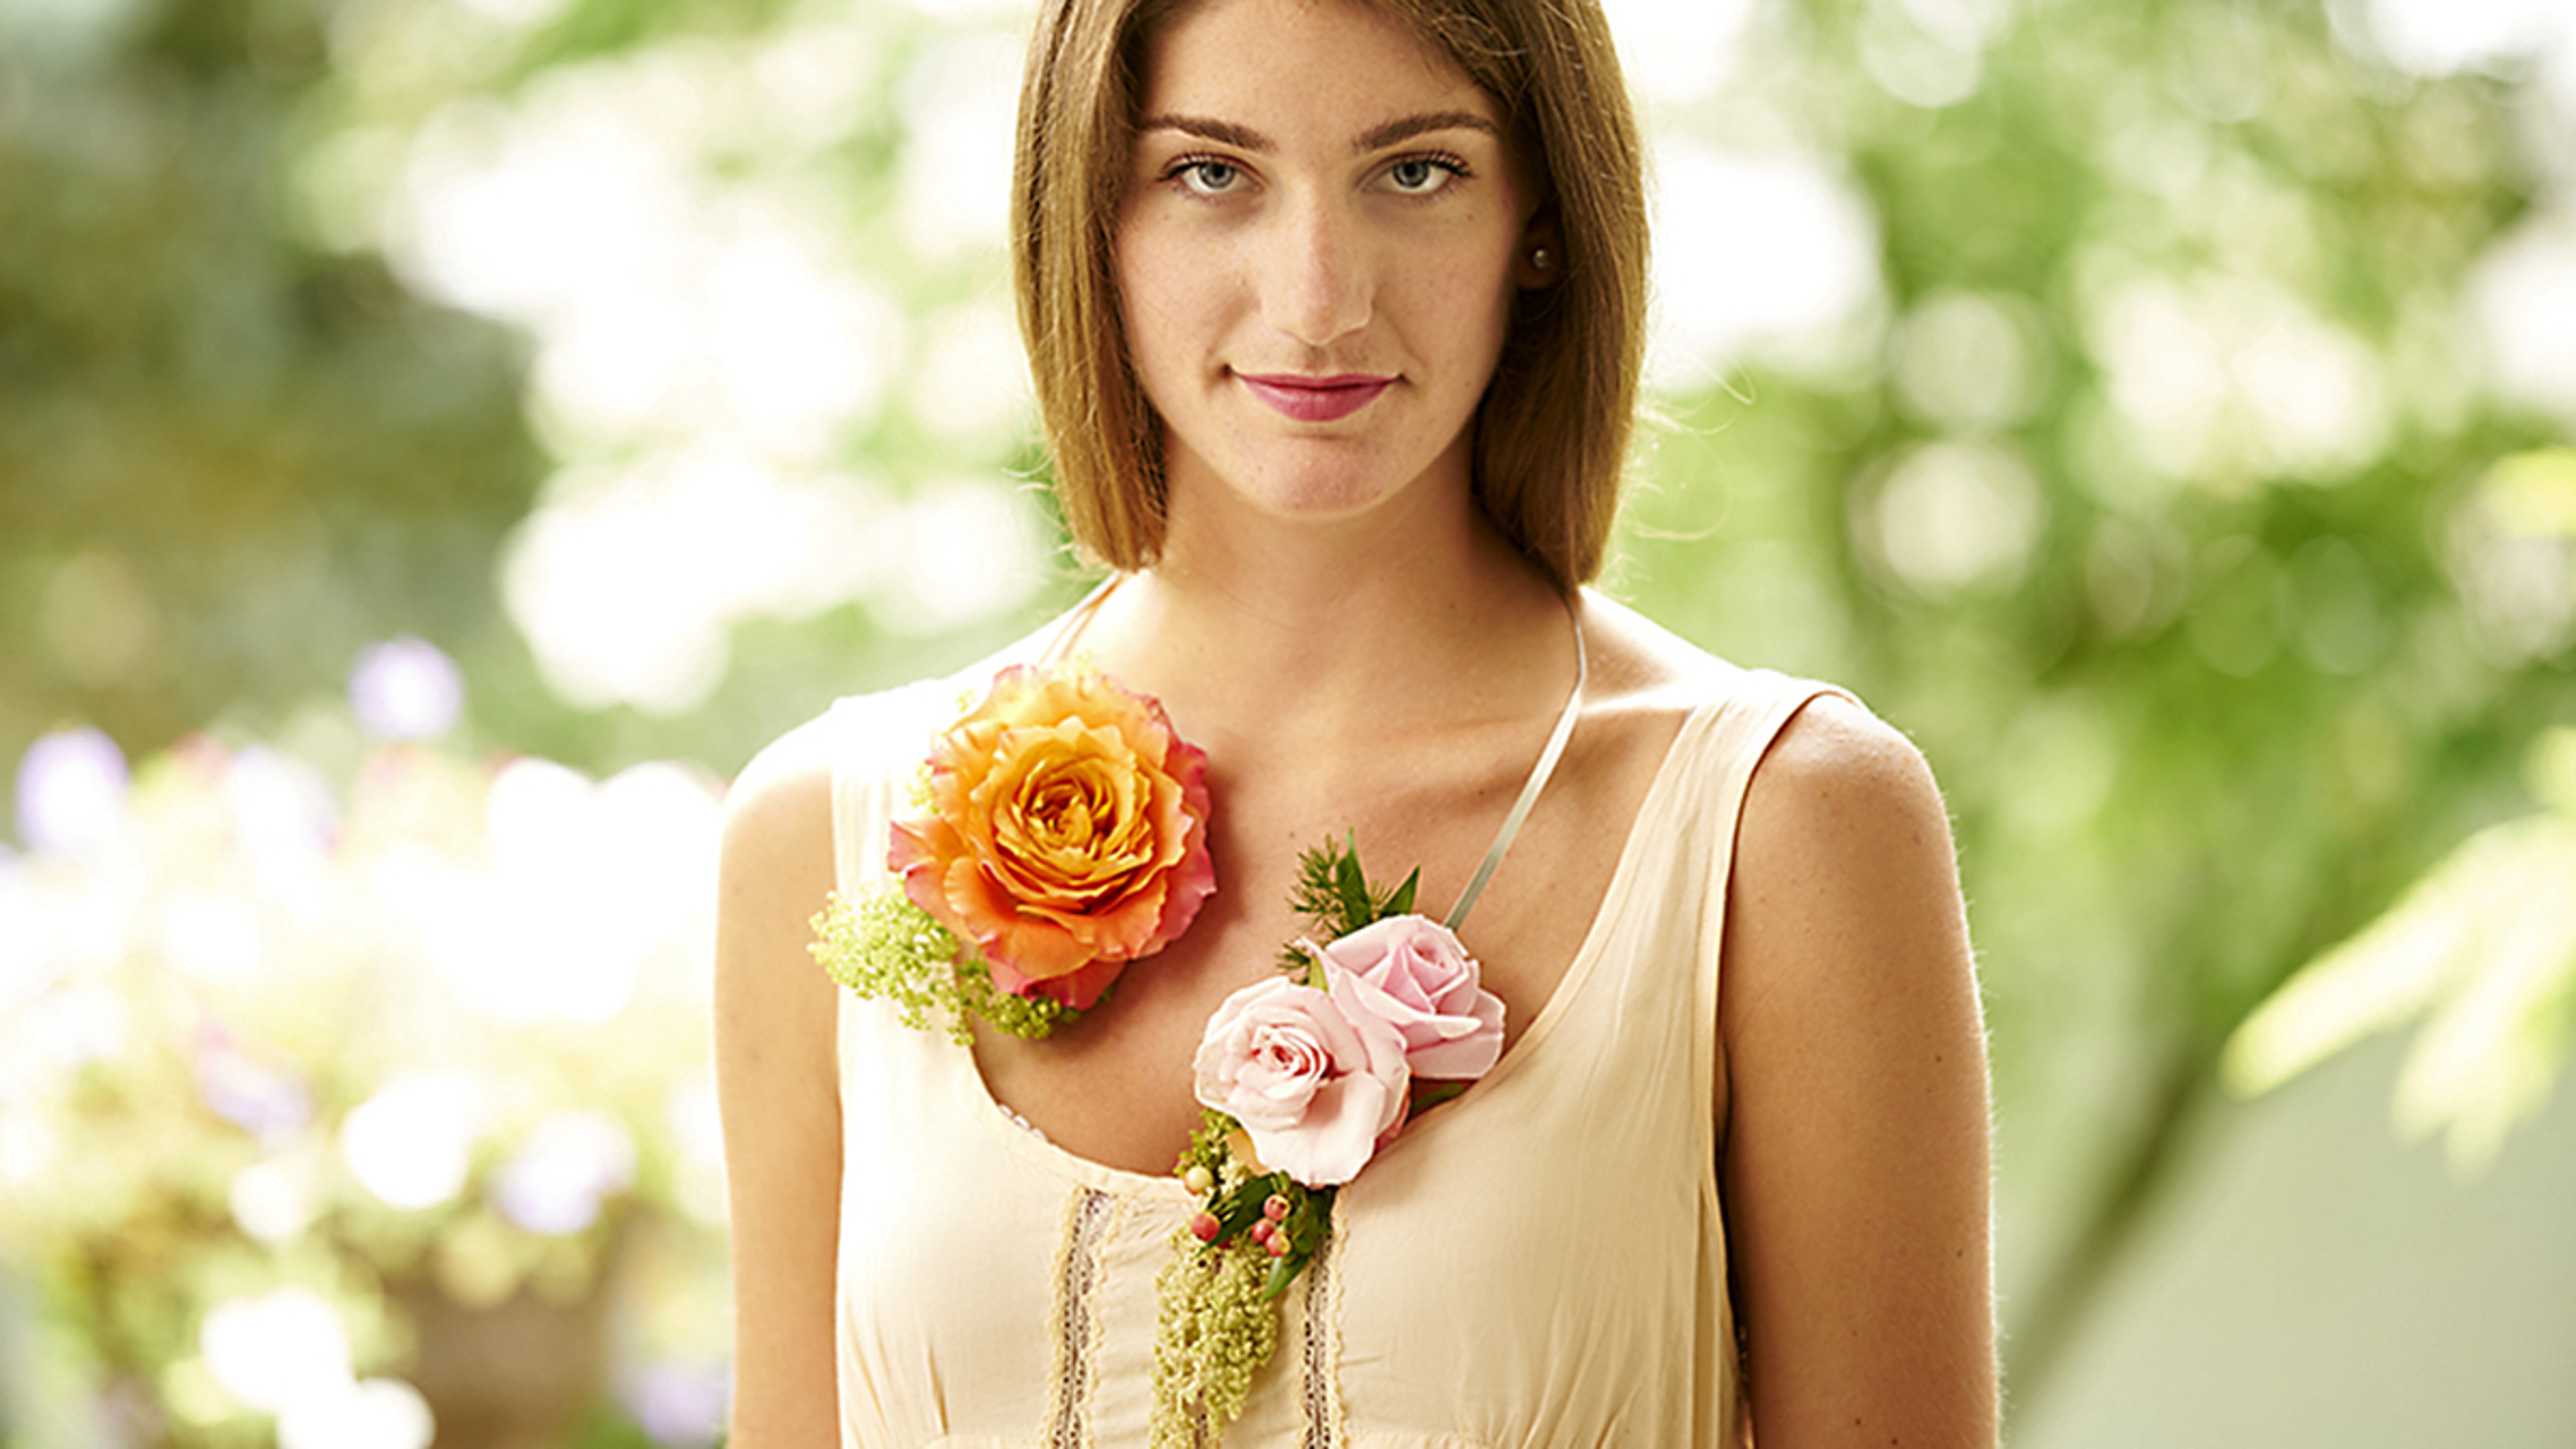
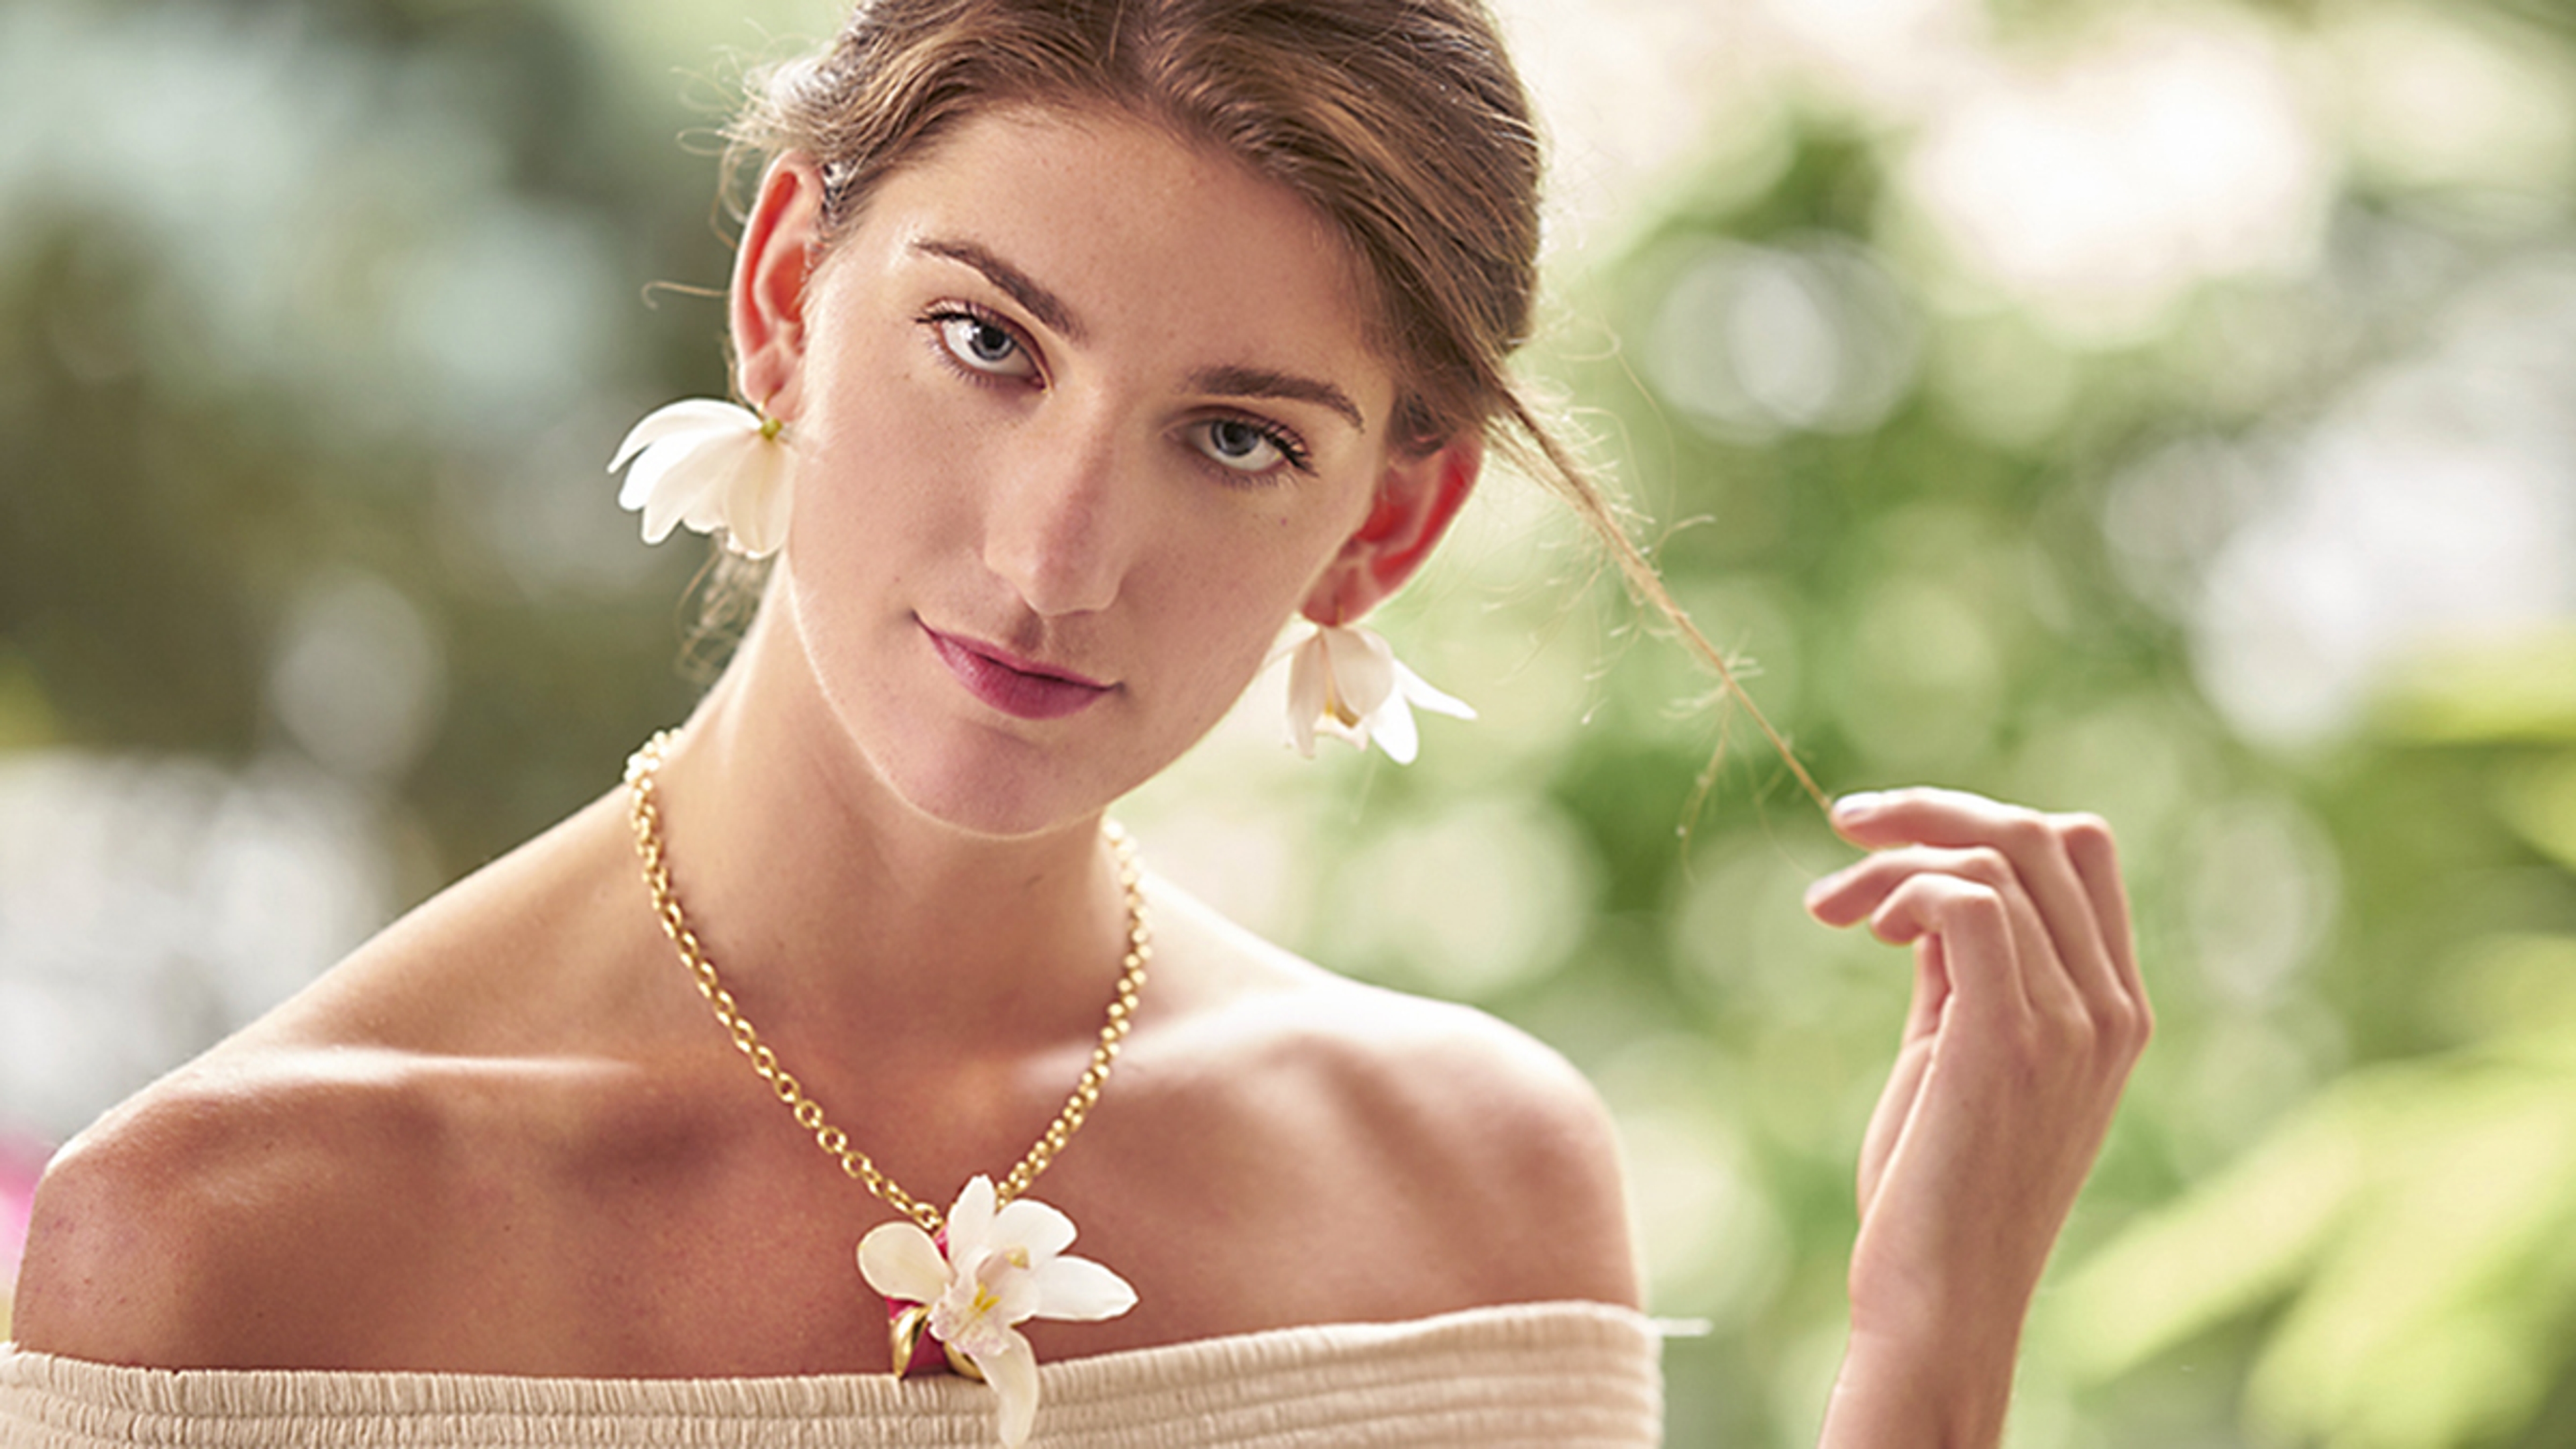
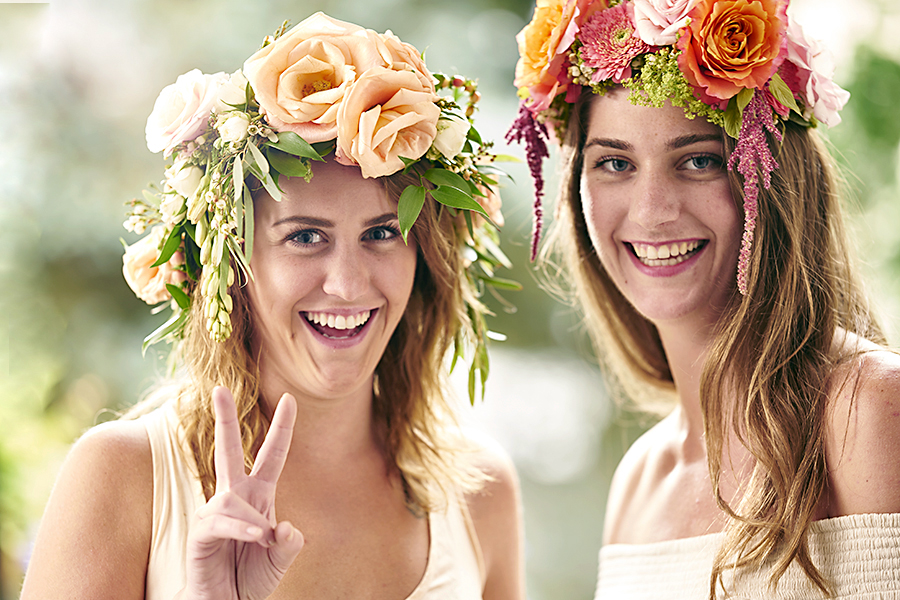
Adorning oneself with fresh flowers is an age-old custom that’s been around for centuries and practiced all over the world. There are many examples such as flower crowns, prom & wedding corsages, and Victorian posies. And many famous women, from Frida Kahlo to Billie Holiday, have used flowers to set themselves apart from the crowd. Indian celebrations have always incorporated flowers in their celebrations, not just as décor but also as headdresses, necklaces, rings and bracelets.
I’m so happy to see a new interest in this practice. One of the big influencers of this trend has been music festivals—especially Coachella! But why stop there? With a little imagination and the following tips, tricks and techniques, you just might become the next trendsetter in fresh flower fashion.
There are a few basic techniques that you should be aware of. As you start to create you’ll find that you’ll use these techniques in multiple ways and may vary your style and tools from piece to piece. Taping, wiring and gluing (and even sewing) are all acceptable methods to make shapes and attach flowers.
WIRING
Wiring was once the only way that corsages and boutonnieres were made. It can be very labor-intensive and time-consuming. My method of choice now is gluing with very little wiring. Even if I am mostly using adhesives to hold my creation together I will still wire larger flowers first for extra support. The most common wire size used for this type of work is 18-22 gauge. Here’s an example of how to wire a rose:
1. Using a sharp shears cut the stem short – about 1”.


TAPING
A floral industry supplier, Oasis®, makes Floratape® Stem Wrap which comes in light and dark green as well as white and brown. It’s a self-sealing wrap used for “finishing” corsages and stems. It sticks to itself and flower stems with superior adhesion. I primarily use the taping technique to make small clusters of petite flowers, or if I have a larger flower that I have wired, I usually wrap the wires. You want to hide your “mechanics” as much as possible, and I find that the stickiness of the floral tape around the wires is useful when adding the wired flower to the base or to another flower. Here's how to use the taping method:
1. Create small clusters of flowers by cutting all of the stems very short – about 1.5” – and strip any foliage from the end of the stems.


GLUING
Oasis® Floral Adhesive:
This is a fast-drying and waterproof liquid adhesive formulated to use with fresh flowers. It provides a time-saving alternative to wiring and taping. And the special formulation will not brown fresh flower petals.
1. Place a dab of floral adhesive on a square of fabric or scrap paper and dip the stem into the glue or place a small amount of the glue directly to the stem.


Hot glue:
Believe it or not, you can actually use hot glue to attach fresh flowers to a base or to other flowers. It doesn’t damage the flower. I like to use a glue pan instead of a glue gun because it gives me more freedom and I can work faster–holding the piece that I’m working on in one hand and dipping the flower in the glue with the other hand and placing where needed.
1. Melt the glue just to the point that it starts to melt but is not completely liquefied.
2. Carefully insert the very bottom of the stem into the glue.


U-Glu®:
This is one of those products that you just keep finding more uses for! It provides the strength of a powerful adhesive with the convenience of tape. It’s also waterproof and doesn’t damage the flower.


Threading
This technique is exactly what it says. You actually thread the flowers onto thread, wire or mono-filament. The most common use of threading is in the making of floral leis and garlands.
1. Insert the needle through the center of the orchid. Repeat as each single orchid flower is stacked on the previous flower.


Wire Threading
Flowers can be strung together very easily with wire as well as thread.
Florist wire – 22 gauge

Memory wire
This type is typically used in traditional jewelry making.

In the next few posts I’ll be featuring some beautiful creations to inspire and excite, and I’ll be referring back many times to the techniques and tools mentioned above.
AUTHOR

Julie started her career in the floral industry over 30 years ago in a small, family-owned flower shop. From floral designer to author and lifestyle expert, her insight has been instrumental in developing the 1-800-Flowers.com brand. Representing the company’s floral lifestyle vision, Julie has shared her talent and passion in numerous television appearances and national magazine features. She is an active fundraiser and longtime friend of IGHL, a group dedicated to facilitating a more independent life for developmentally challenged adults.