Flower Jewelry: How to Make a Fresh Flower Necklace
Lifestyle and floral expert Julie Mulligan explains how to make a fresh flower necklace that is sure to turn heads.
Aug 23, 2016
Making jewelry with flowers provides a look with simple elegance that is so right for so many occasions. Whether paired with a headpiece, such as a crown or headband, like the one below, or worn alone, this beautiful floral accessory is a unique and natural way to make a style statement.

All the how-tos I am sharing are for guidance and inspiration. The true beauty of these pieces, though, lies in the personal interpretation. These tips and techniques will give you the basic information and confidence that you need to get started.
Tools and supplies
- Flat wire
- Floral wires
- Stem wrap
- Floral adhesive
- Wire cutters
- Round nose pliers
Flowers used
- Hanging amaranthus
- Free spirit rose
- Majolica spray rose
- Hypericum
- Lady's mantle
- Assorted foliage
Instructions

1. Start by determining the length of wire needed by wrapping it (or a string) around the neck. For this asymmetrical style, I needed 27 inches and added another 3 inches to wrap around the stem of the large rose. I used a three-sixteenths Oasis™ Flat Wire in silver.

2. Cut a wire for the large open rose.

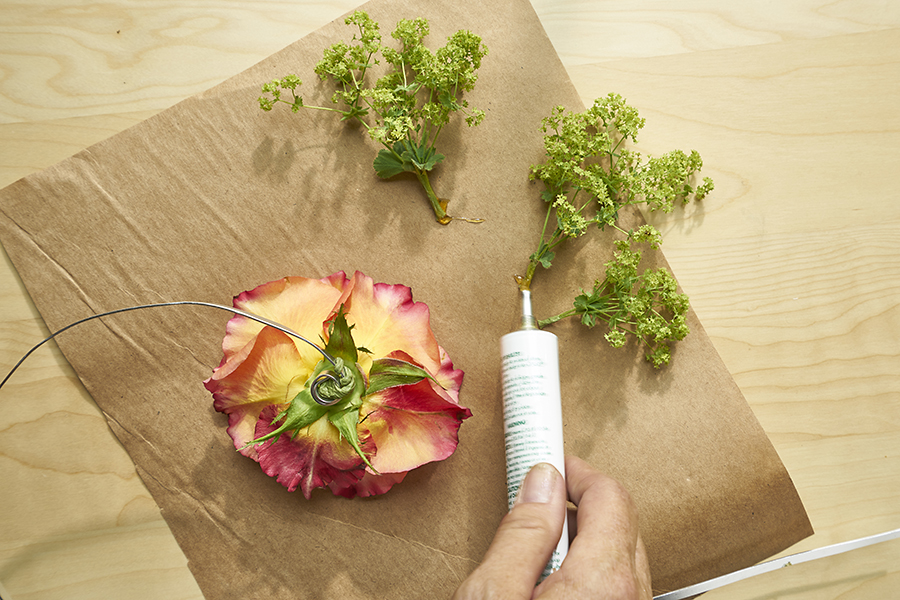
3. Wrap the end of the rose wire around the end of the flat wire, and then twist the flat wire around the bottom of the rose. You can use a round nose pliers for this, but it is not necessary.

4. Cut a small cluster of a filler flower, such as alchemilla (Lady’s mantle), and gather a few of these together and wrap them with floral stem wrap*.


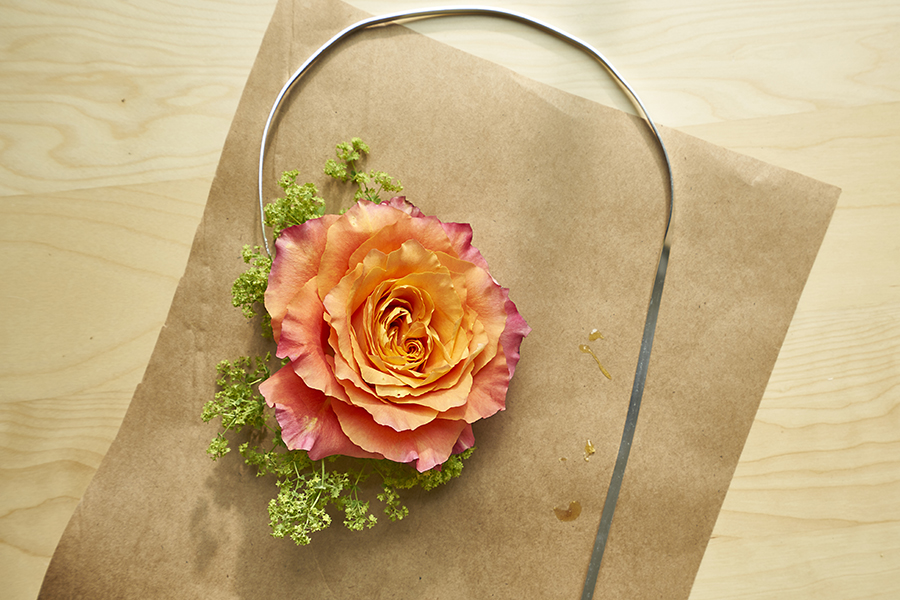
5. Attach these clusters to the back of the rose using floral adhesive*.

6. Wire two smaller spray roses and attach them to the other end using stem wrap.

7. Add more floral components, such as foliage, berries, and hanging amaranthus, using floral adhesive or hot glue. You can easily cut the flat wire if you find that it’s longer than needed.

8. Slip your flower necklace around your neck, and let the festivities begin!
*Visit this post to learn more about wiring flowers, stem wrapping, and gluing flowers.


