Flower Jewelry: Techniques Used for Making Flower Crowns
Learn the techniques used to make flower crowns by Julie Mulligan from wiring and taping large flowers to gluing smaller flowers.
Apr 17, 2018
I am in love with flower crowns of all styles and sizes. Sometimes, the bigger the better.
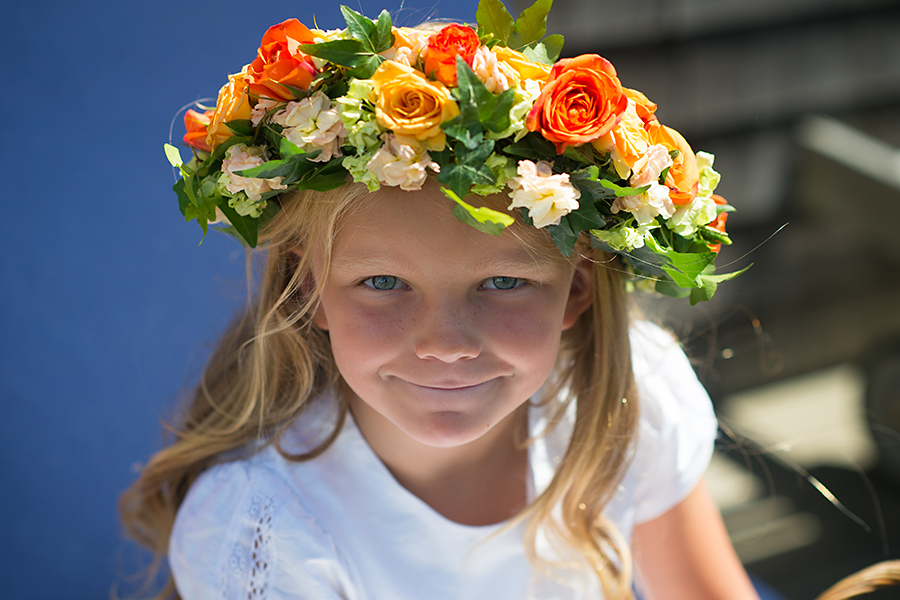
Like this one that my granddaughter Juliette wore for my niece’s wedding on Block Island!
It was so much fun watching Juliette and her cousin Abigail enjoying all of the magical moments of their cousin Jenna’s wedding. They were living their own fairy tale! When Jenna placed the flower crowns on their sweet little heads, it was truly their “crowning moment”!
All Grown Up
These fairy tale-inspired crowns are ageless and allow girls of all ages to live out their dreams. They are lush with full blown blooms, lots of texture, and soft feminine colors. And our models are picture perfect and really got into the shoot. Carly, on the right, is our studio assistant and a recent grad of F.I.T. Holly is her cousin and a natural, just like Carly. With friends this gorgeous who needs to hire real models!
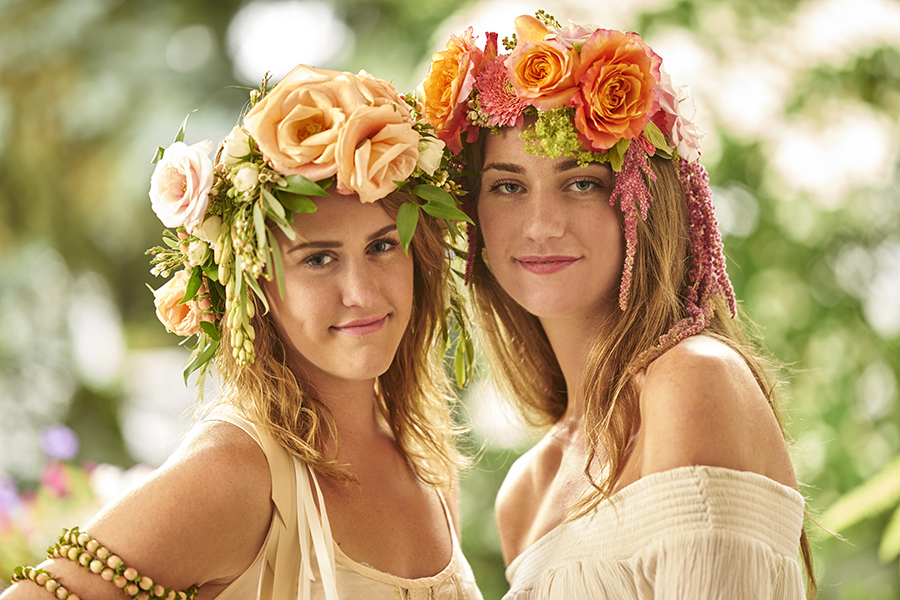
I think we probably used every technique detailed in my previous posts to create these beautiful crowns:
- The larger roses were wired and taped to a wire base of greenery.
- Smaller flowers were glued between the larger flowers.
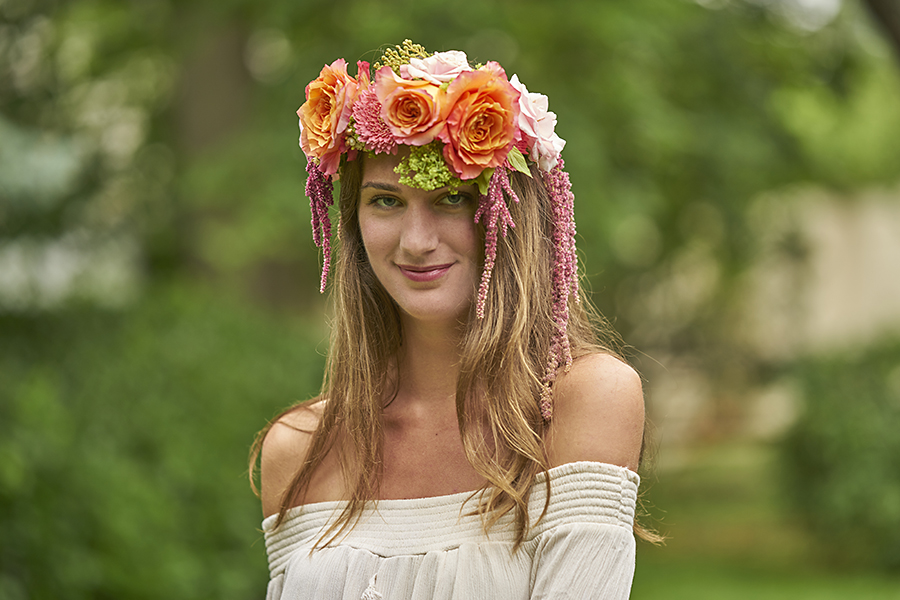
Flowers were actually added to the crown after we had placed it on the girls’ heads. Once it is worn, you start to see it come to life and tweaks are made accordingly. For instance, we wanted to have a little more drama so amaranthus and tuberoses were wired and easily added to the base in just the right spots!
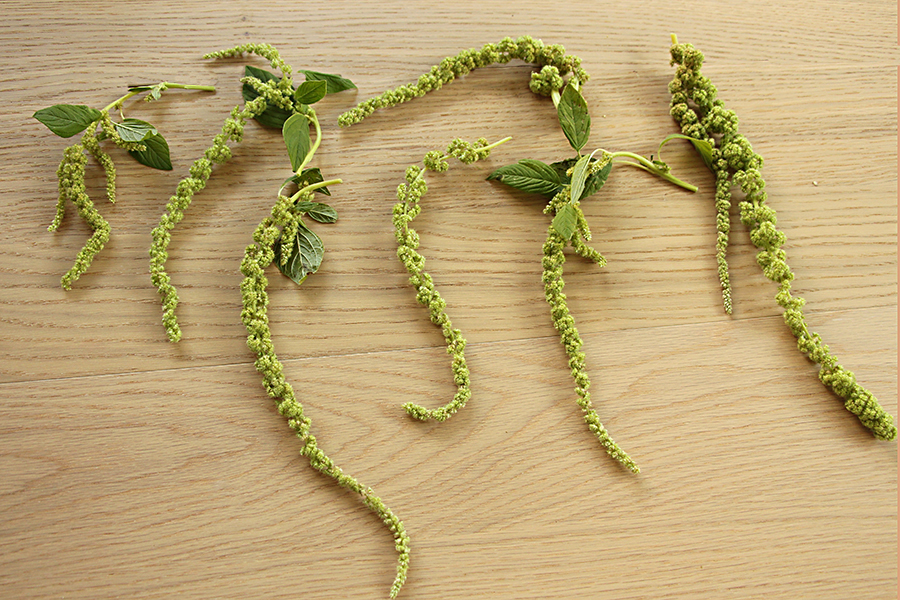
This is one stem of green “hanging” amaranthus. We used pink with the crown pictured, but the technique is the same regardless of the color.
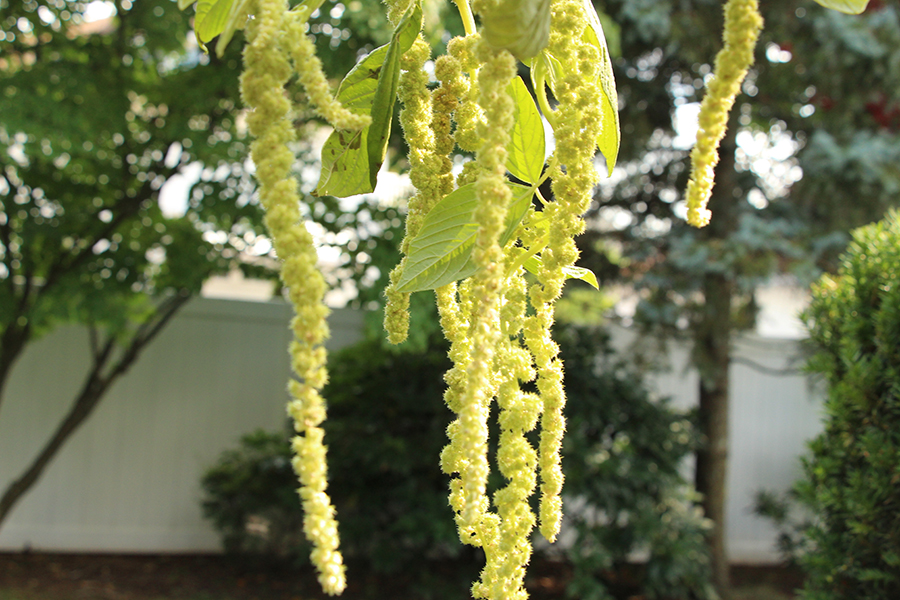
1. Cut individual laterals off of the main stem. These were all from one stem!
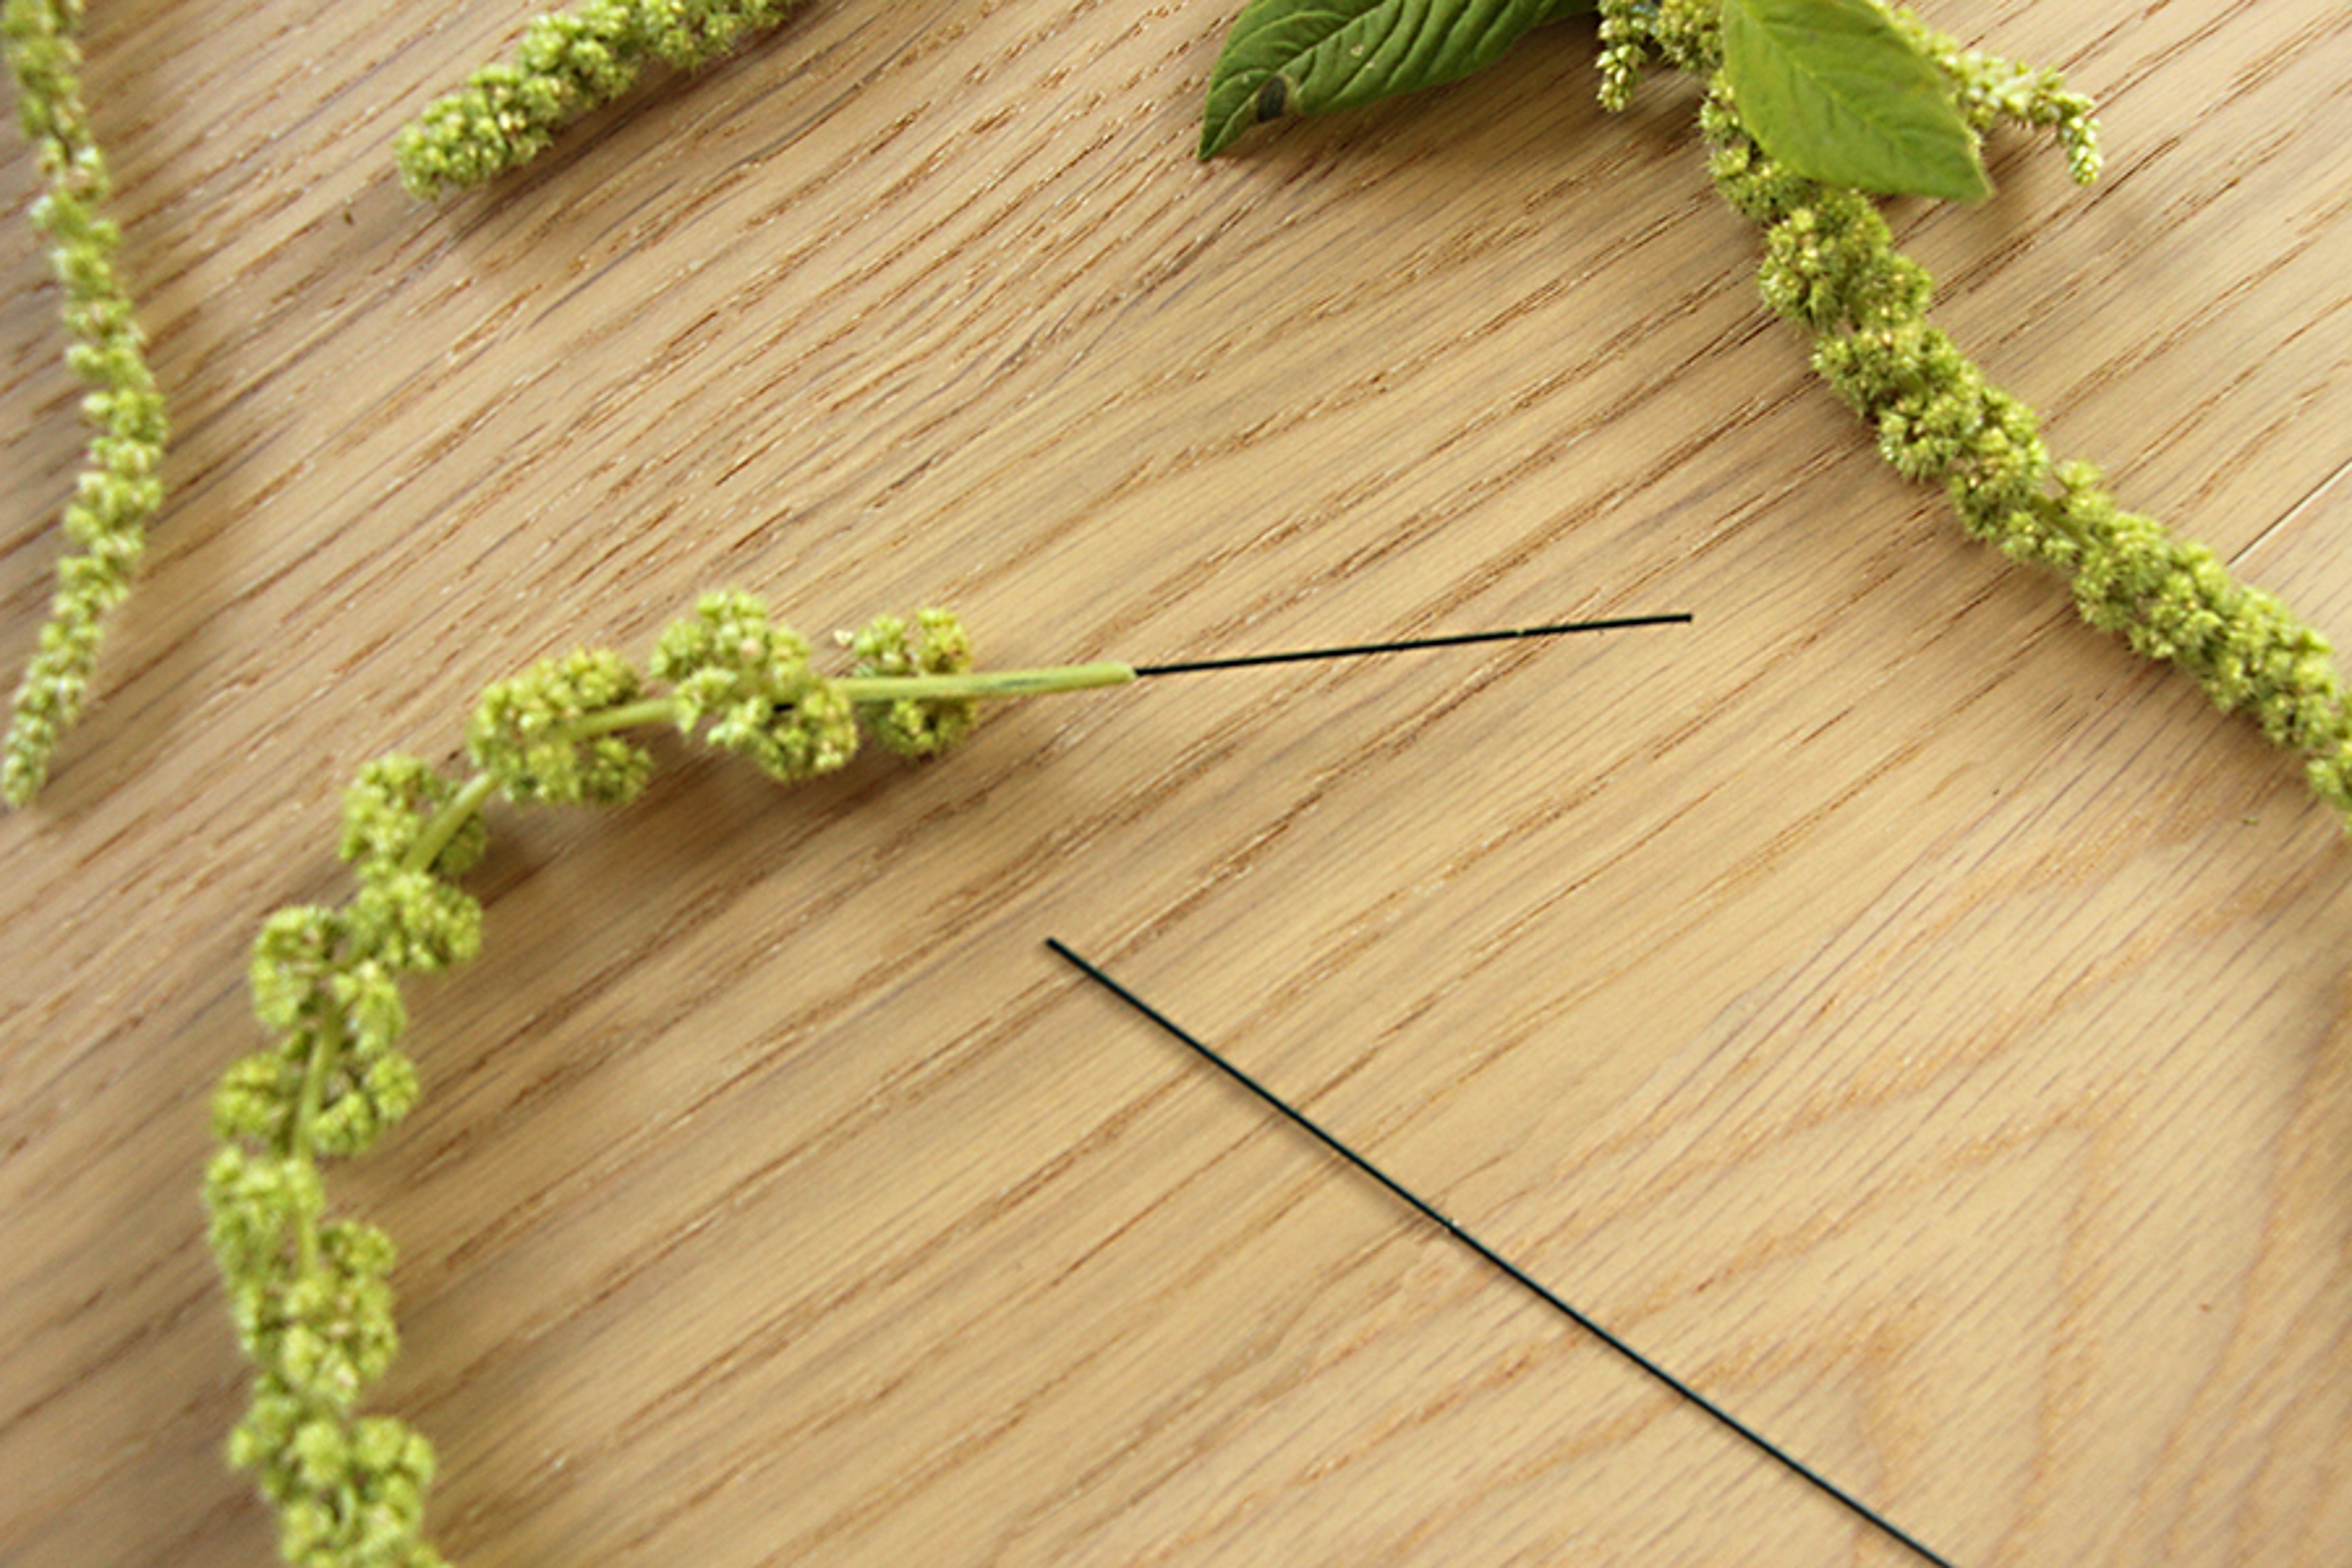
2. Insert a piece of wire into the bottom of stem, leaving just 1-2" of wire to work with. You can now add this piece of hanging amaranthus wherever you like. Simply loop the wire around the base of the wreath.
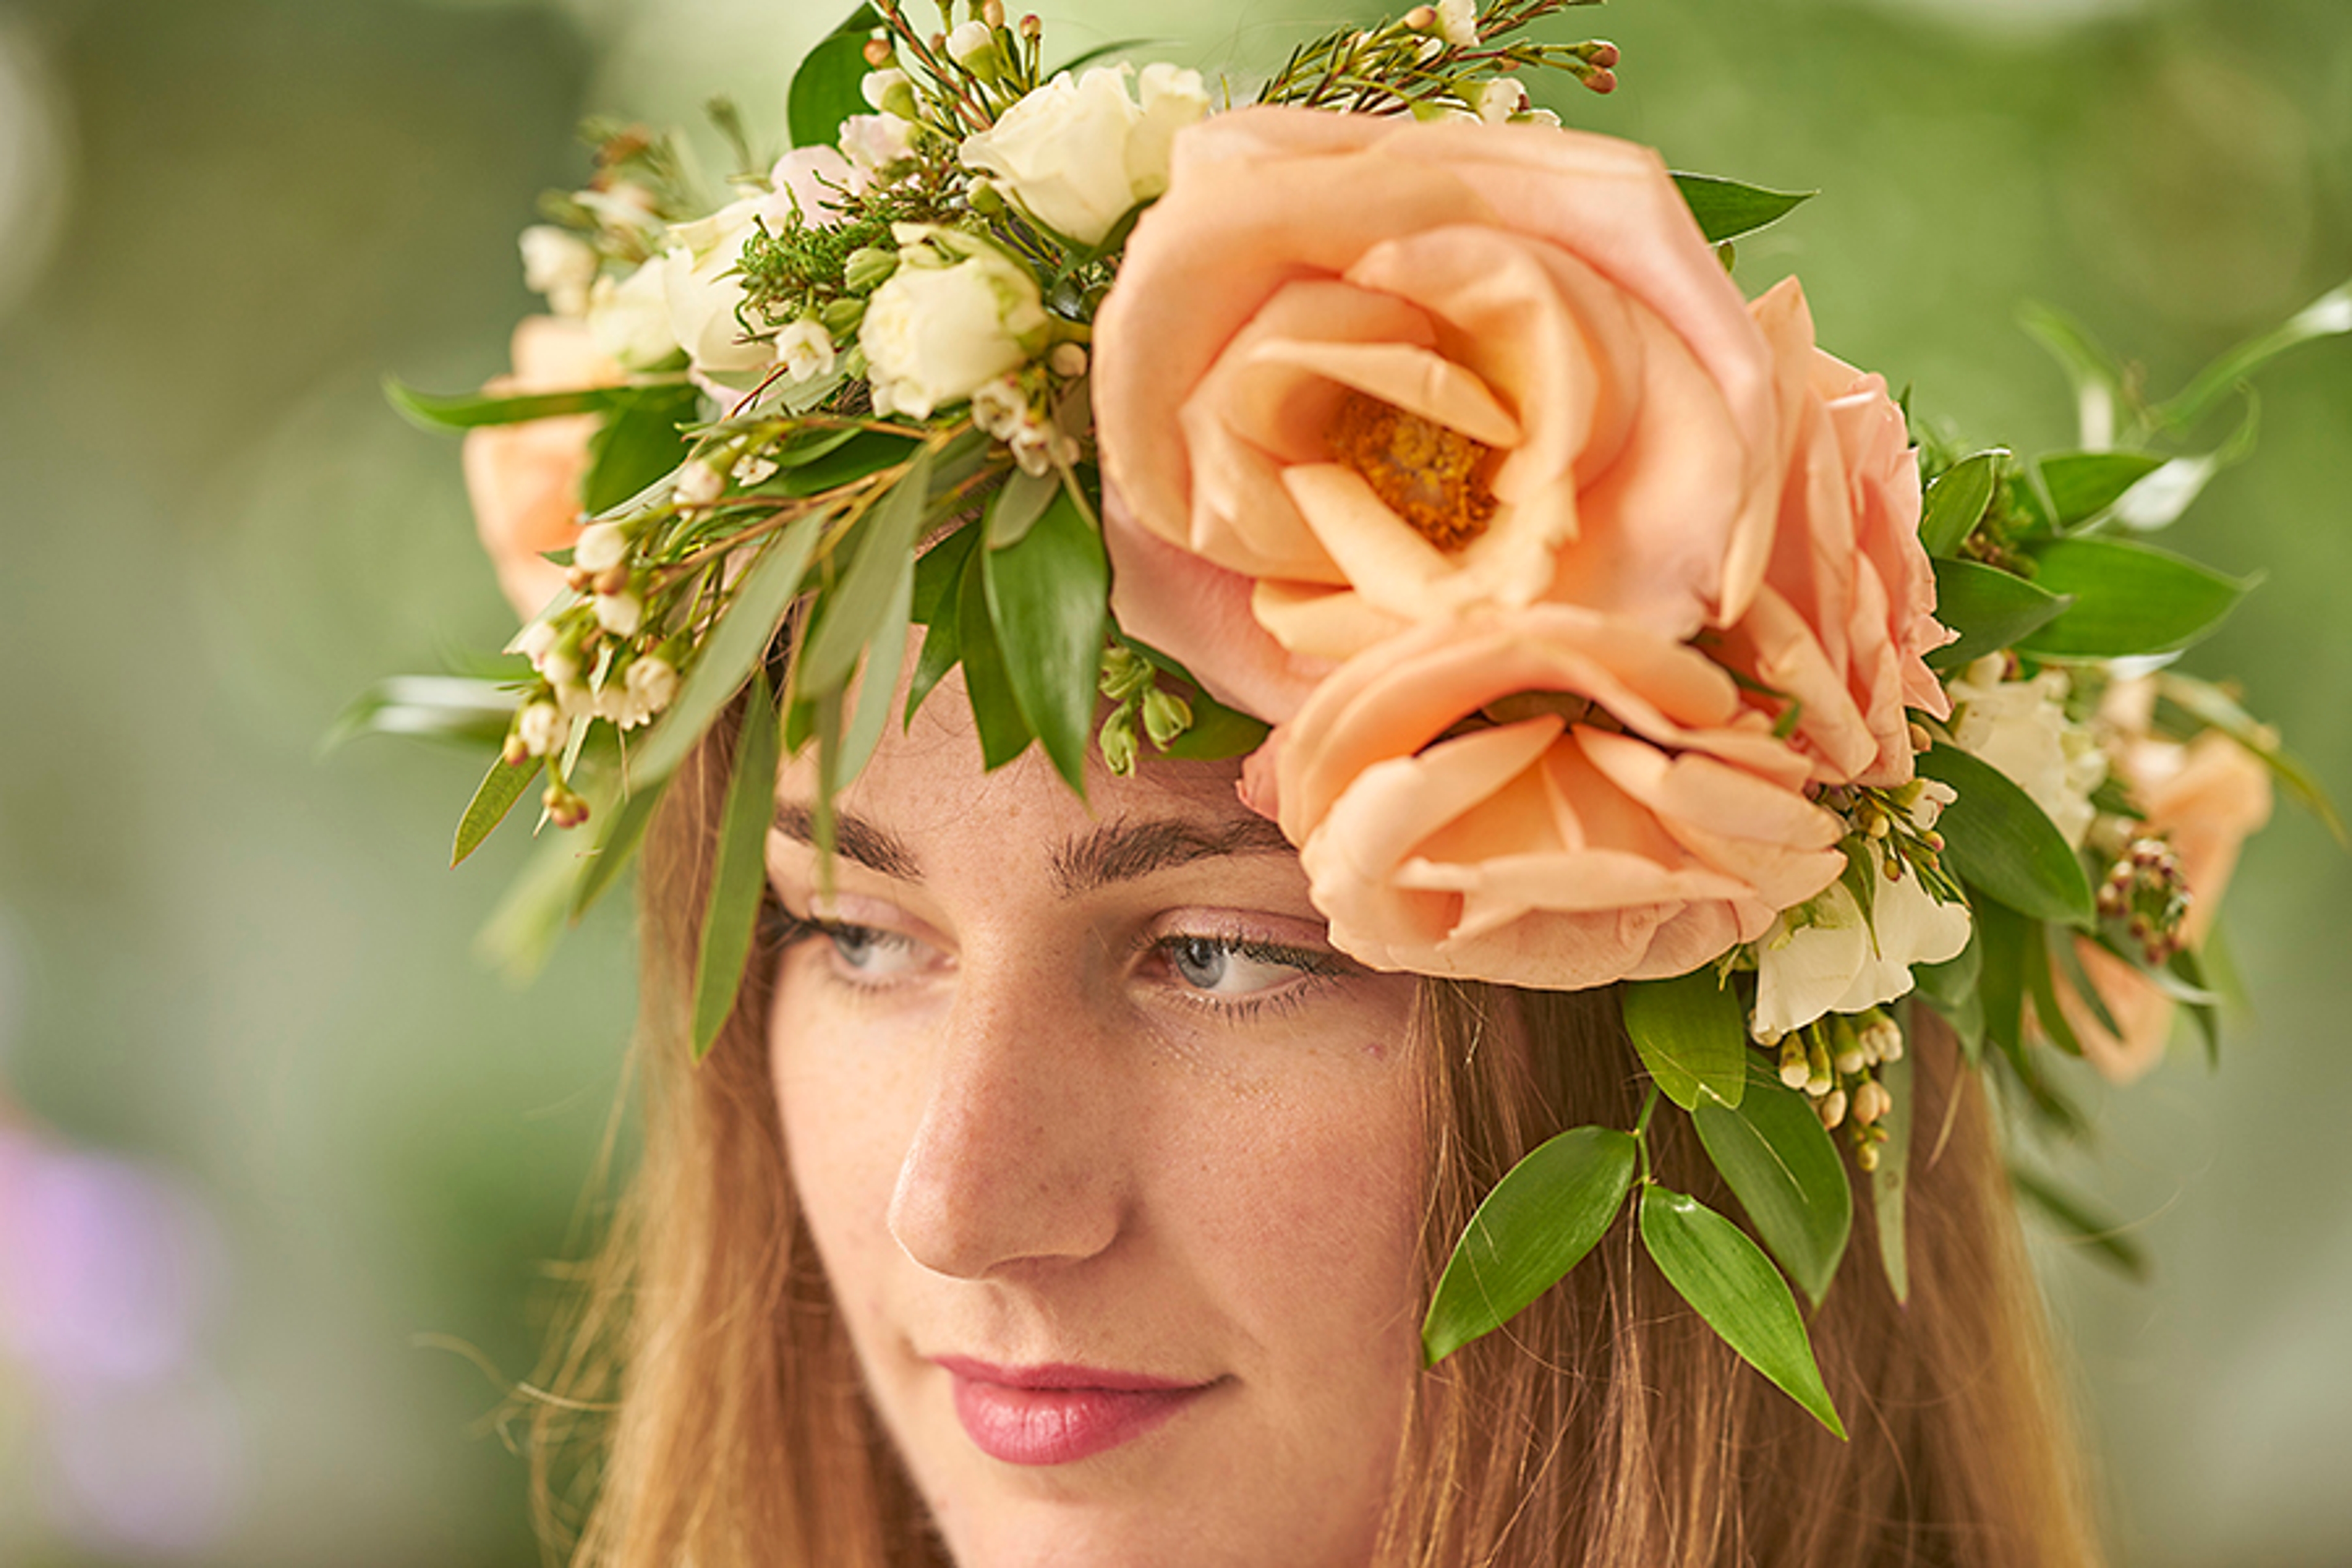
Here’s a tip from Louise Zeller, one of our top designers here at 1-800-Flowers, who created Holly’s beautiful flower crown.
In order to capture that full bloom rose effect, Louise actually created the larger roses! She took a rose apart and glued a few petals together and then glued the center of the original roses (the pistil and stamen) into the center of those petals! She gets the look that she was going for, but this new rose is flatter and much lighter than the original rose and therefore easier to work with and easier to wear!
Next up, I’ll show you how to make this amazing fresh flower necklace to wear with the coordinating crown or on its own. It’s easier to make than you think!


